Preparation:
Thorough substrate/ concrete floor preparation is essential.
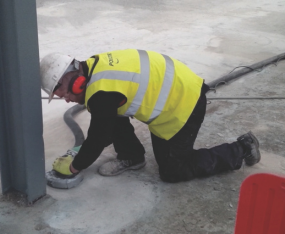
The surface must be free of brittle particles and laitance. Any remains of previous coatings on the concrete floor should be removed by means of scabbling, shot-blasting and/or diamond grinding before the concrete floor primer is laid.
Oil and grease build up should be removed from the substrate or concrete floor using high pressure hot water or steam jet, to fully expose the substrate before the floor primers.
Important: Free pores must be exposed to ensure good adhesion to the surface or concrete floor.
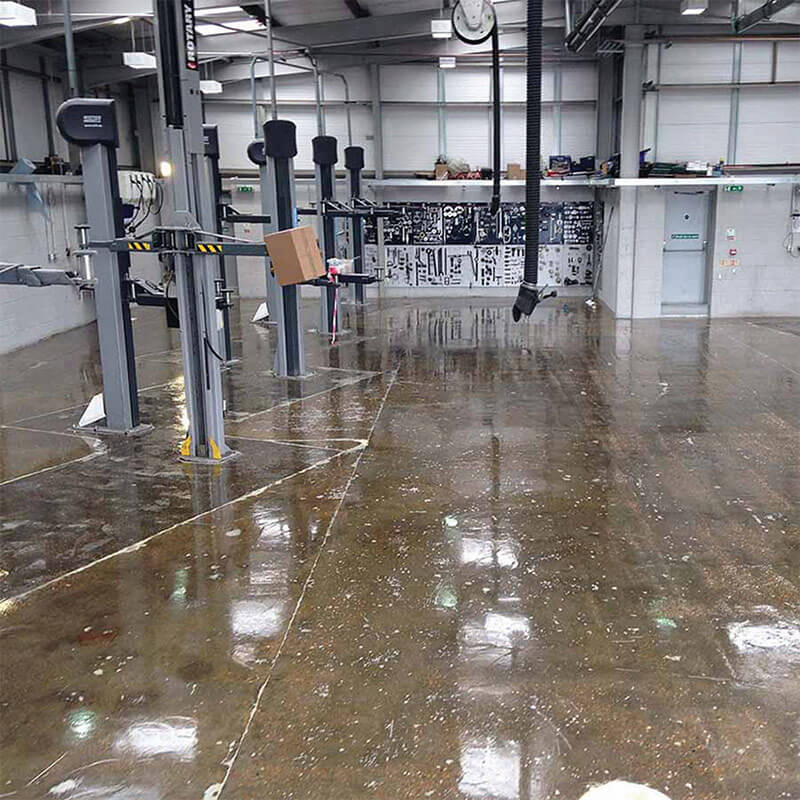
All water must be removed from the surface, leaving it damp but not wet. The Garage Floor Primer (OT Primer™) may then be applied to the damp surface immediately after cleaning and ensuring the floor is ready for painting with floor paints.
Mixing:
Add the whole of part ‘A’ to the whole of part ‘B’ in a suitable container, and thoroughly mix for at least 3 minutes.
For best results use a slow speed drill with a mixing paddle, making sure all material from the sides and bottom of the floor primers container are thoroughly mixed in.
Ensure thorough mixing as an unmixed product will result in a poor or non-cure situation.
Application:
Floor primer can be applied by brush, roller, or squeegee, in one or more continuous applications until the material is absorbed and a film has formed. Make certain that the entire surface is completely covered to prevent oil or water migration.
Oil or grease impregnated surfaces are best primed with a paint brush or soft sweeping broom, in order to ensure the floor primers are worked well into the surface. Allow to fully cure before the application of any further coating.
Whilst this is in fact extremely rare, it is important to note that if contamination is particularly bad, the substrate may require a further coat of Garage Floor Primer (OT Primer).
Re. Self-Levelling Cementitous Screeds. Should the intention be to pour a cementitous screed (Polycote Easi-Screed) over the primer, then it is important to broadcast kiln dried sand over the primer to ensure an intercoat adhesion is achieved between the primer and the screed.
Ensure Aggregate should be sprinkled evenly over the OT Primer whist it is still WET, at a rate of 1kg per m². (Spiked shoes may be worn to avoid disturbing the wet coating).
Allow to cure for a further 24 hours before removing any loose / excess aggregate from the surface, which is then ready to receive the desired Easi-Screed product.
Where dampness and/or oil contamination is of particular concern, it is advisable to seal the surface completely with one first coat of Garage Floor Primer (OT Primer) and then to lay a second coat onto which the aggregate would then be applied.
The reason for this is to ensure there is no ‘bleed through’, should any particles of aggregate penetrate the primer. (Whilst any such penetration is in fact extremely unlikely, some companies with strict requirements / constraints prefer the certainty of a 100% seal, prior to any aggregate being applied).
Should time constraints be limited, it is worthy to note that we do have a faster curing version of the Garage Floor Primer (OT Primer) – see Garage Floor Primer XFH (OT Primer XFH).
Finally, please feel free to consult our technical team, who will be more than happy to help with any specific requirement / concern regarding which concrete primer is best for your environment.
You can also look at our useful blog ‘How To Treat and Seal a Contaminated Floor’. This mentions surface contamination and how to coat the floor solving this very common problem.
We hope and are confident we can work together to find the right concrete floor primer to ensure any floor paints you choose for your floor will last. We offer advice no matter what the floor condition is. Whether its porous concrete or bare concrete we will provide the best concrete primer for the job.