Preparation
Recommended methods are:
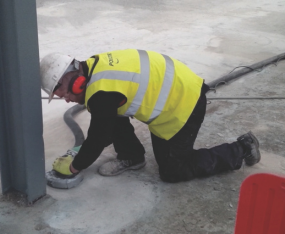
Powerfloated concrete – use a Vacuum Assisted Shotblaster to remove weak laitance and provide a surface key for the coating. If this is not possible, chemically etch with Polycote Etch IT then rinse thoroughly and allow to dry before applying Flortex Professional.
Loose paint or rust – remove, using a Vacuum Assisted Shotblaster, Floor Grinder or equivalent method.
Loose or friable concrete – use a Vacuum Assisted Shot blaster. If this is not possible, chemically clean with Polycote Etch IT then rinse thoroughly and allow to dry.
Oil or grease – use Hot Compressed Air for large areas of contamination. Smaller, isolated deposits may be chemically cleaned with Polycote Degrease IT, then rinsed thoroughly and allowed to dry.
Prior to application of Flortex® Professional a suitable Polycote primer should be applied, depending on the type and condition of the surface.
Please contact Polycote technical helpline, and prepare the surface in accordance with the appropriate primer data sheet.
Mixing
All materials should be stored between 15°C and 25°C for a minimum of 8 hours before use. Having fully prepared the substrate, stir the individual components before mixing together. As pigment may ‘sink’, ensure that the mixing is very thorough and from the bottom of the container.
Add the Hardener (Part B) to the coloured resin (Part A) and thoroughly mix on a slow speed setting for 3-4 minutes.
Ensure thorough mixing as an unmixed product will result in a poor or non-cure situation. For best results use a heavy-duty slow speed drill with a mixing paddle.
Scrape the sides and bottom of the mixing vessel with a spatula several times as any unmixed material will result in uncured patches in the final finish.
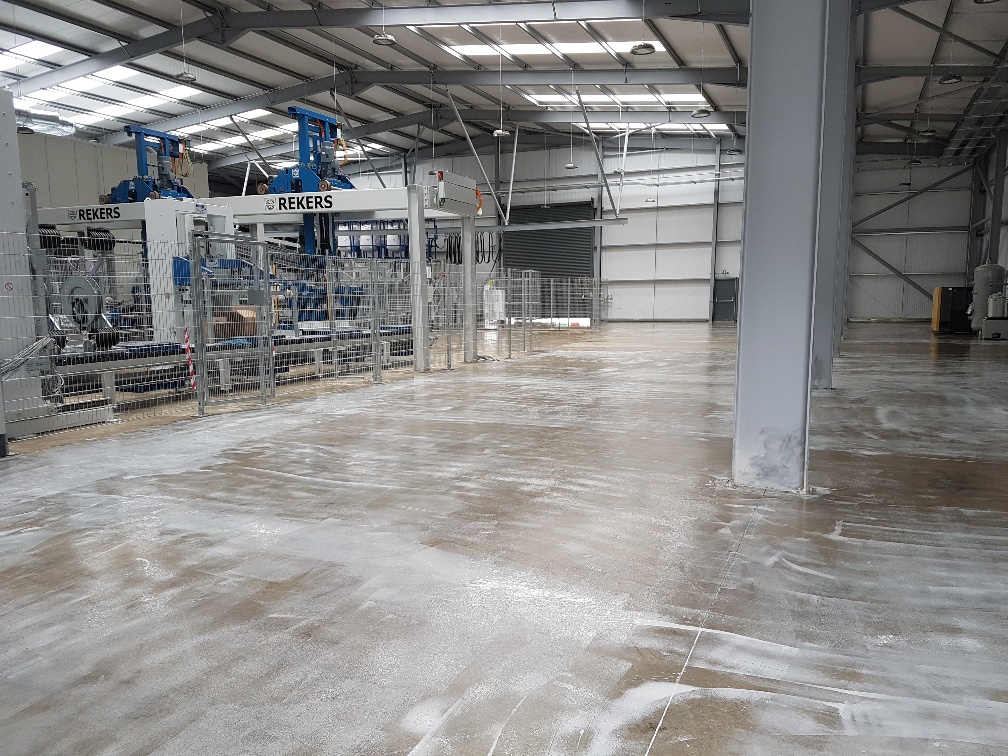
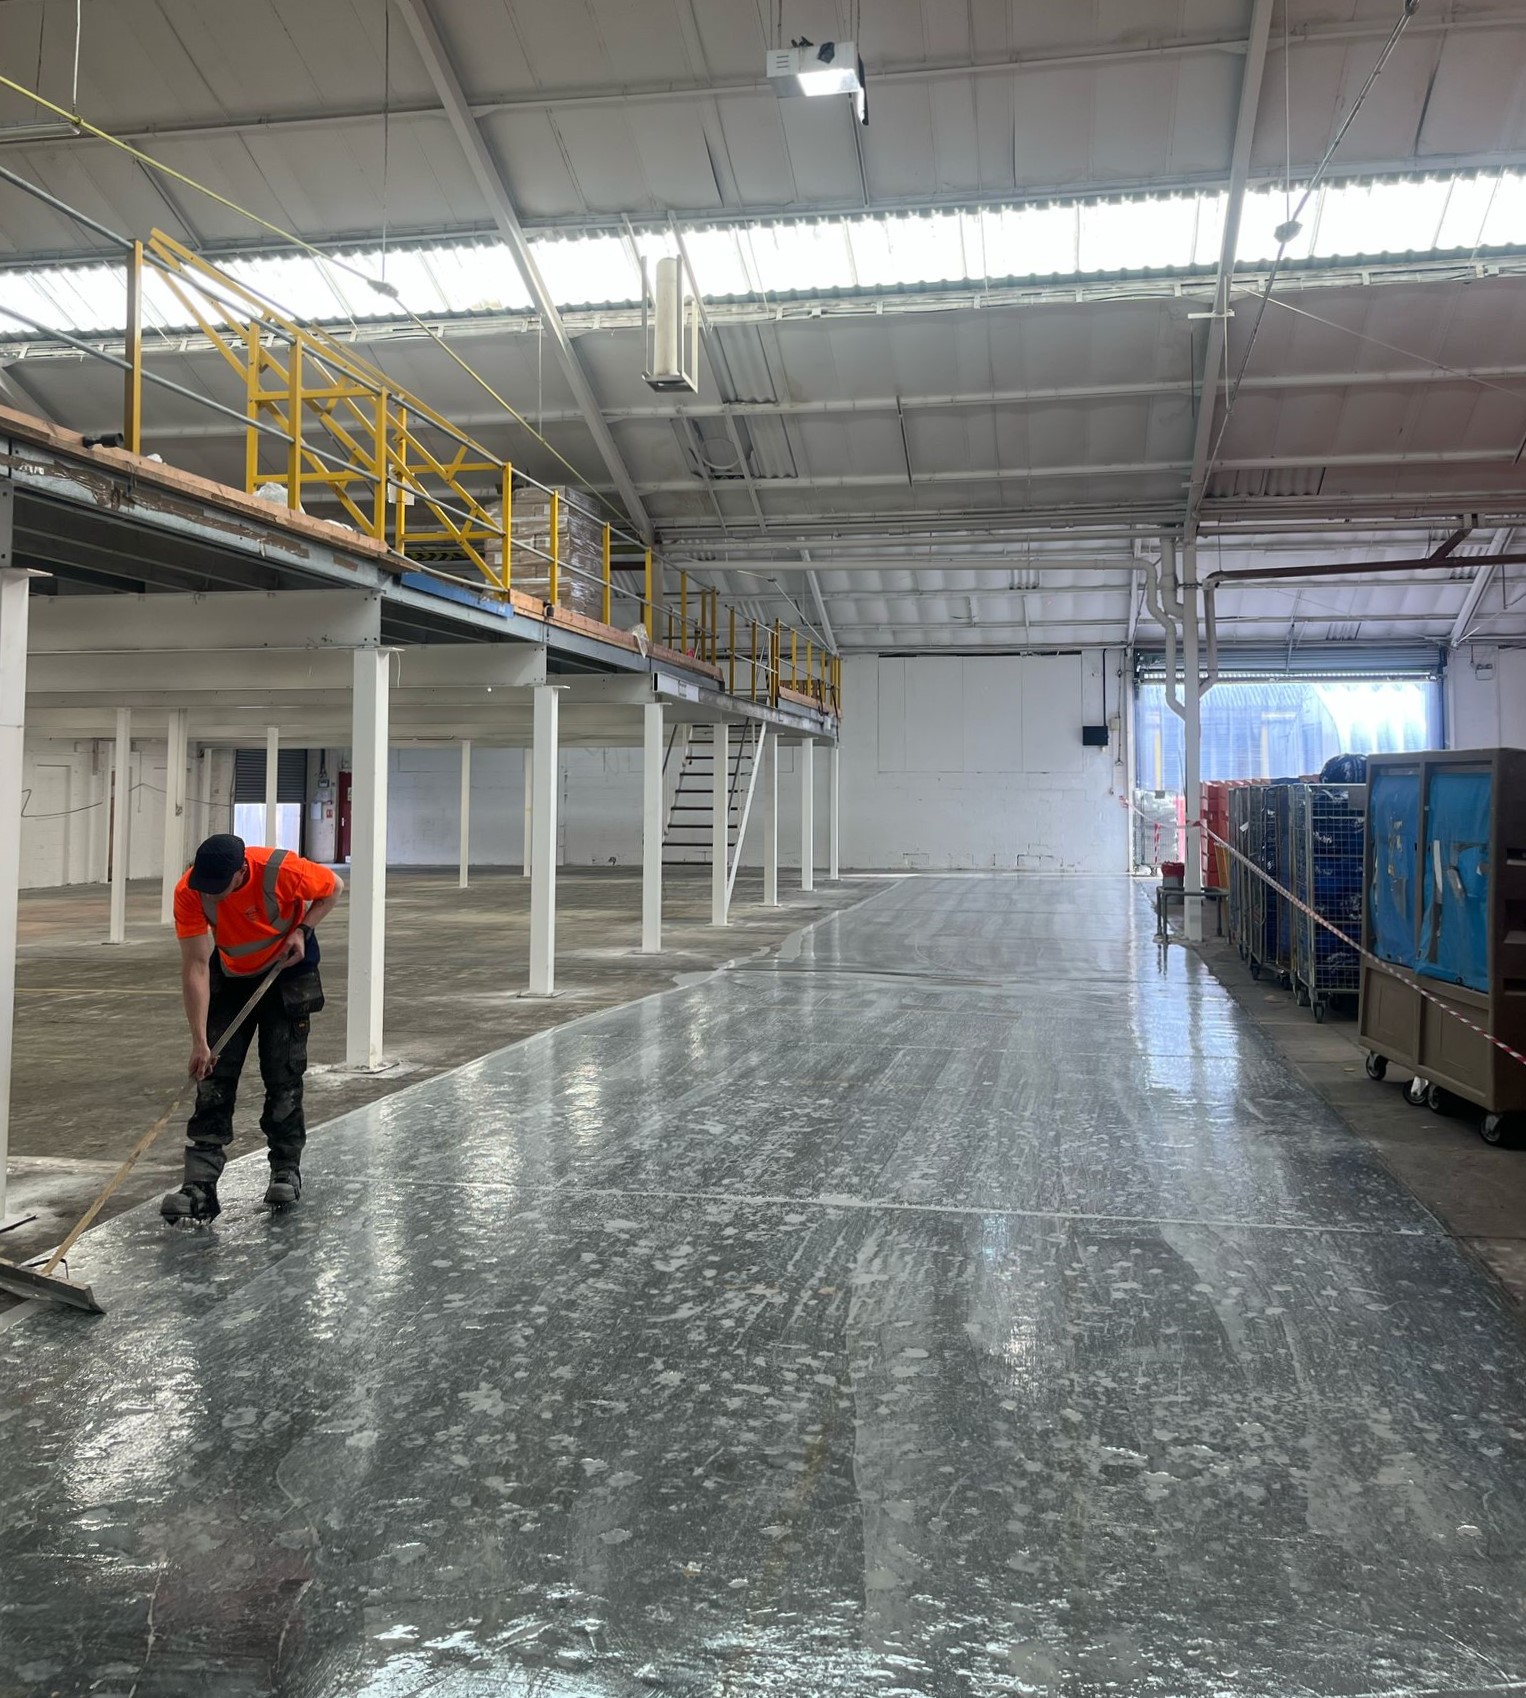
Application
Flortex Professional XFH may be applied with a medium pile simulated sheepskin roller, working well into the surface, but do not exceed the coverage rate. Edges and difficult to reach areas can be applied by brush.
Flortex Professional XFH is normally applied between 0.3kg to 0.5kg per 1m2. When the quantity of resin used exceeds 0.5kg/m2, air bubbles may become trapped within the coating These are removed using a Polycote Spiked Roller. This must be carried out immediately after application of the resin before curing takes place. Spiked shoes should be worn to avoid disturbing the wet coating.
For Flortex Professional XFH Slip Resistant – gradually sprinkle Kiln Dried Aggregate onto the WET resin at a rate of 2-3kg/m2. The quantity of aggregate required will depend on the thickness of the initial coating. Please note: spiked rolling is unnecessary for the first coat when using aggregate. Allow first coat to fully cure (preferably 24 hours) before removing all excess aggregate.
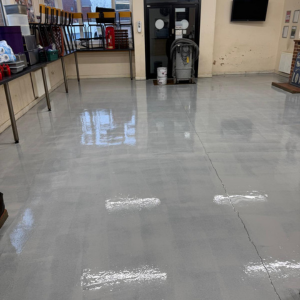
A final coat of Flortex® Professional XFH should then be applied, the thickness of this coat may be varied depending on the finish required, but should be significantly less than the first coat.
Please note: White, Yellow and Safety Red will usually require 2 coats. The thickness of this coat may be varied depending on the finish required but should be significantly less than the first coat.
Application Temperature
Do not apply outside the temperature range 10°C to 25°C. To minimise the risk of ‘blooming’ caused by condensation, maintain the temperature above the uncured floor to at least 3°C above the dew point for at least 48 hours after application.