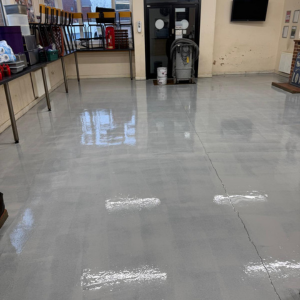
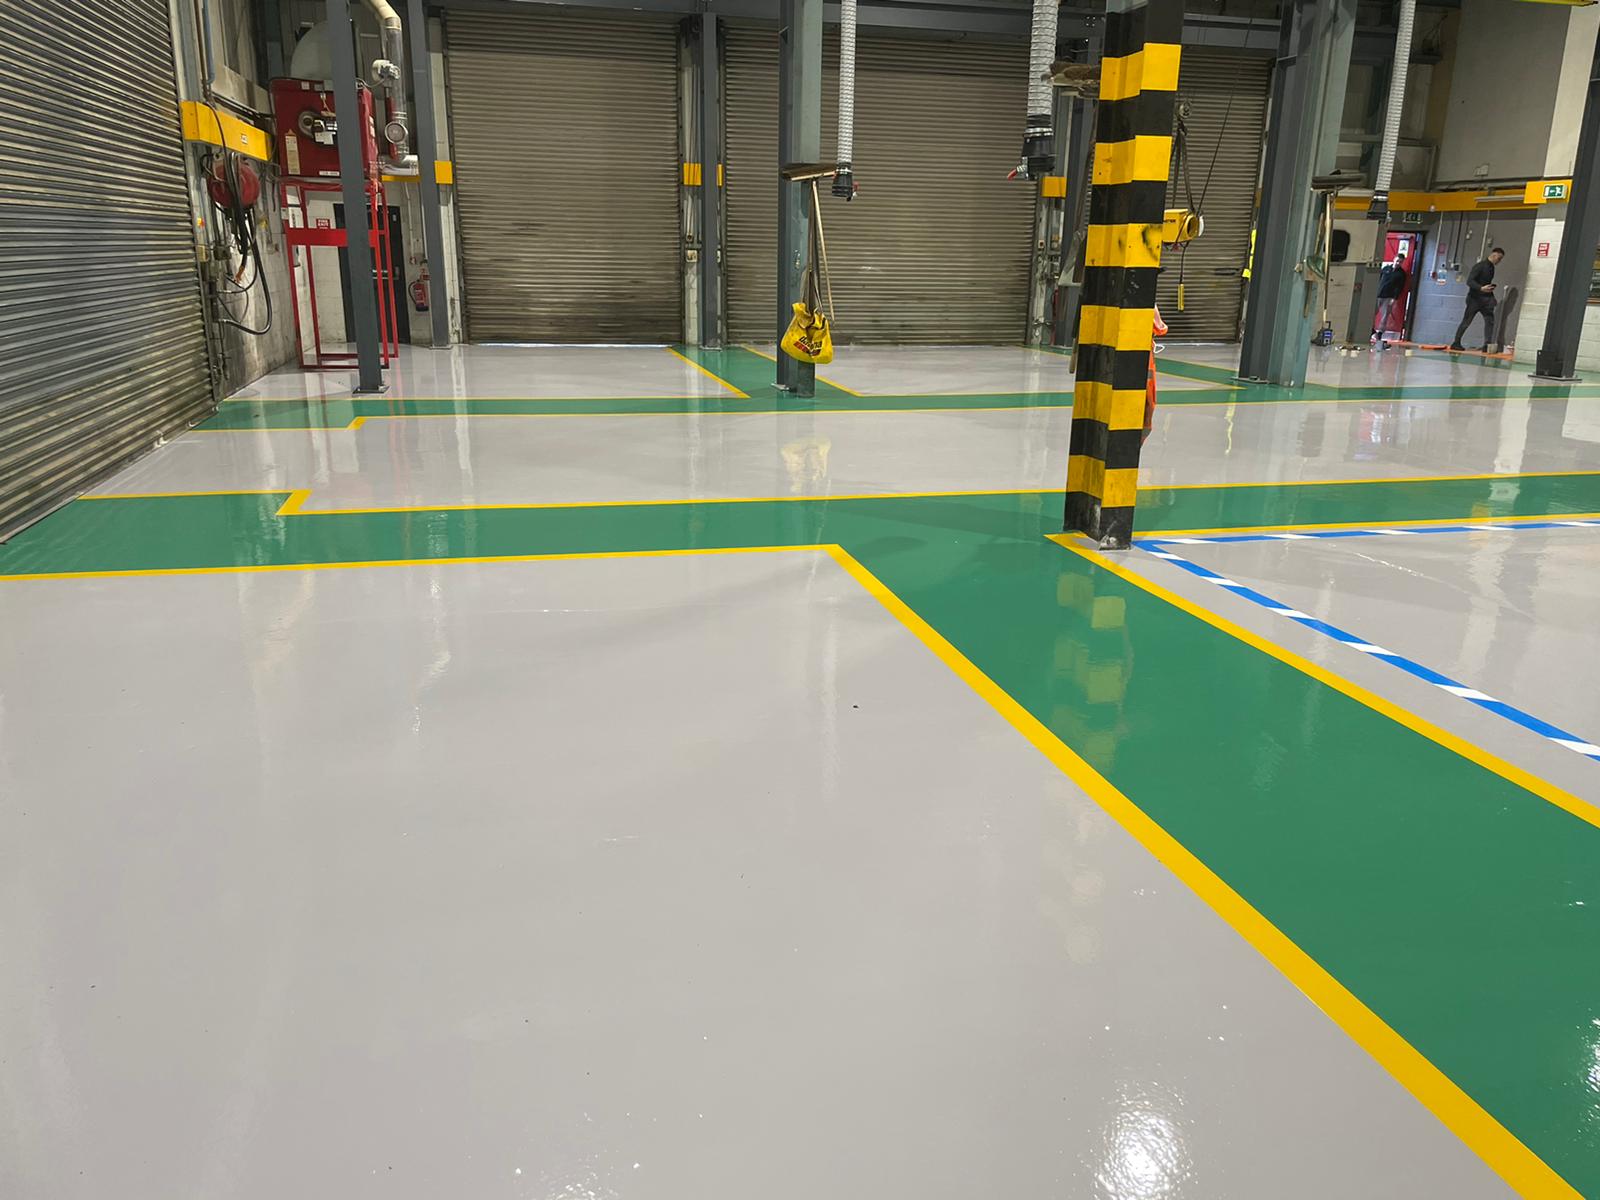
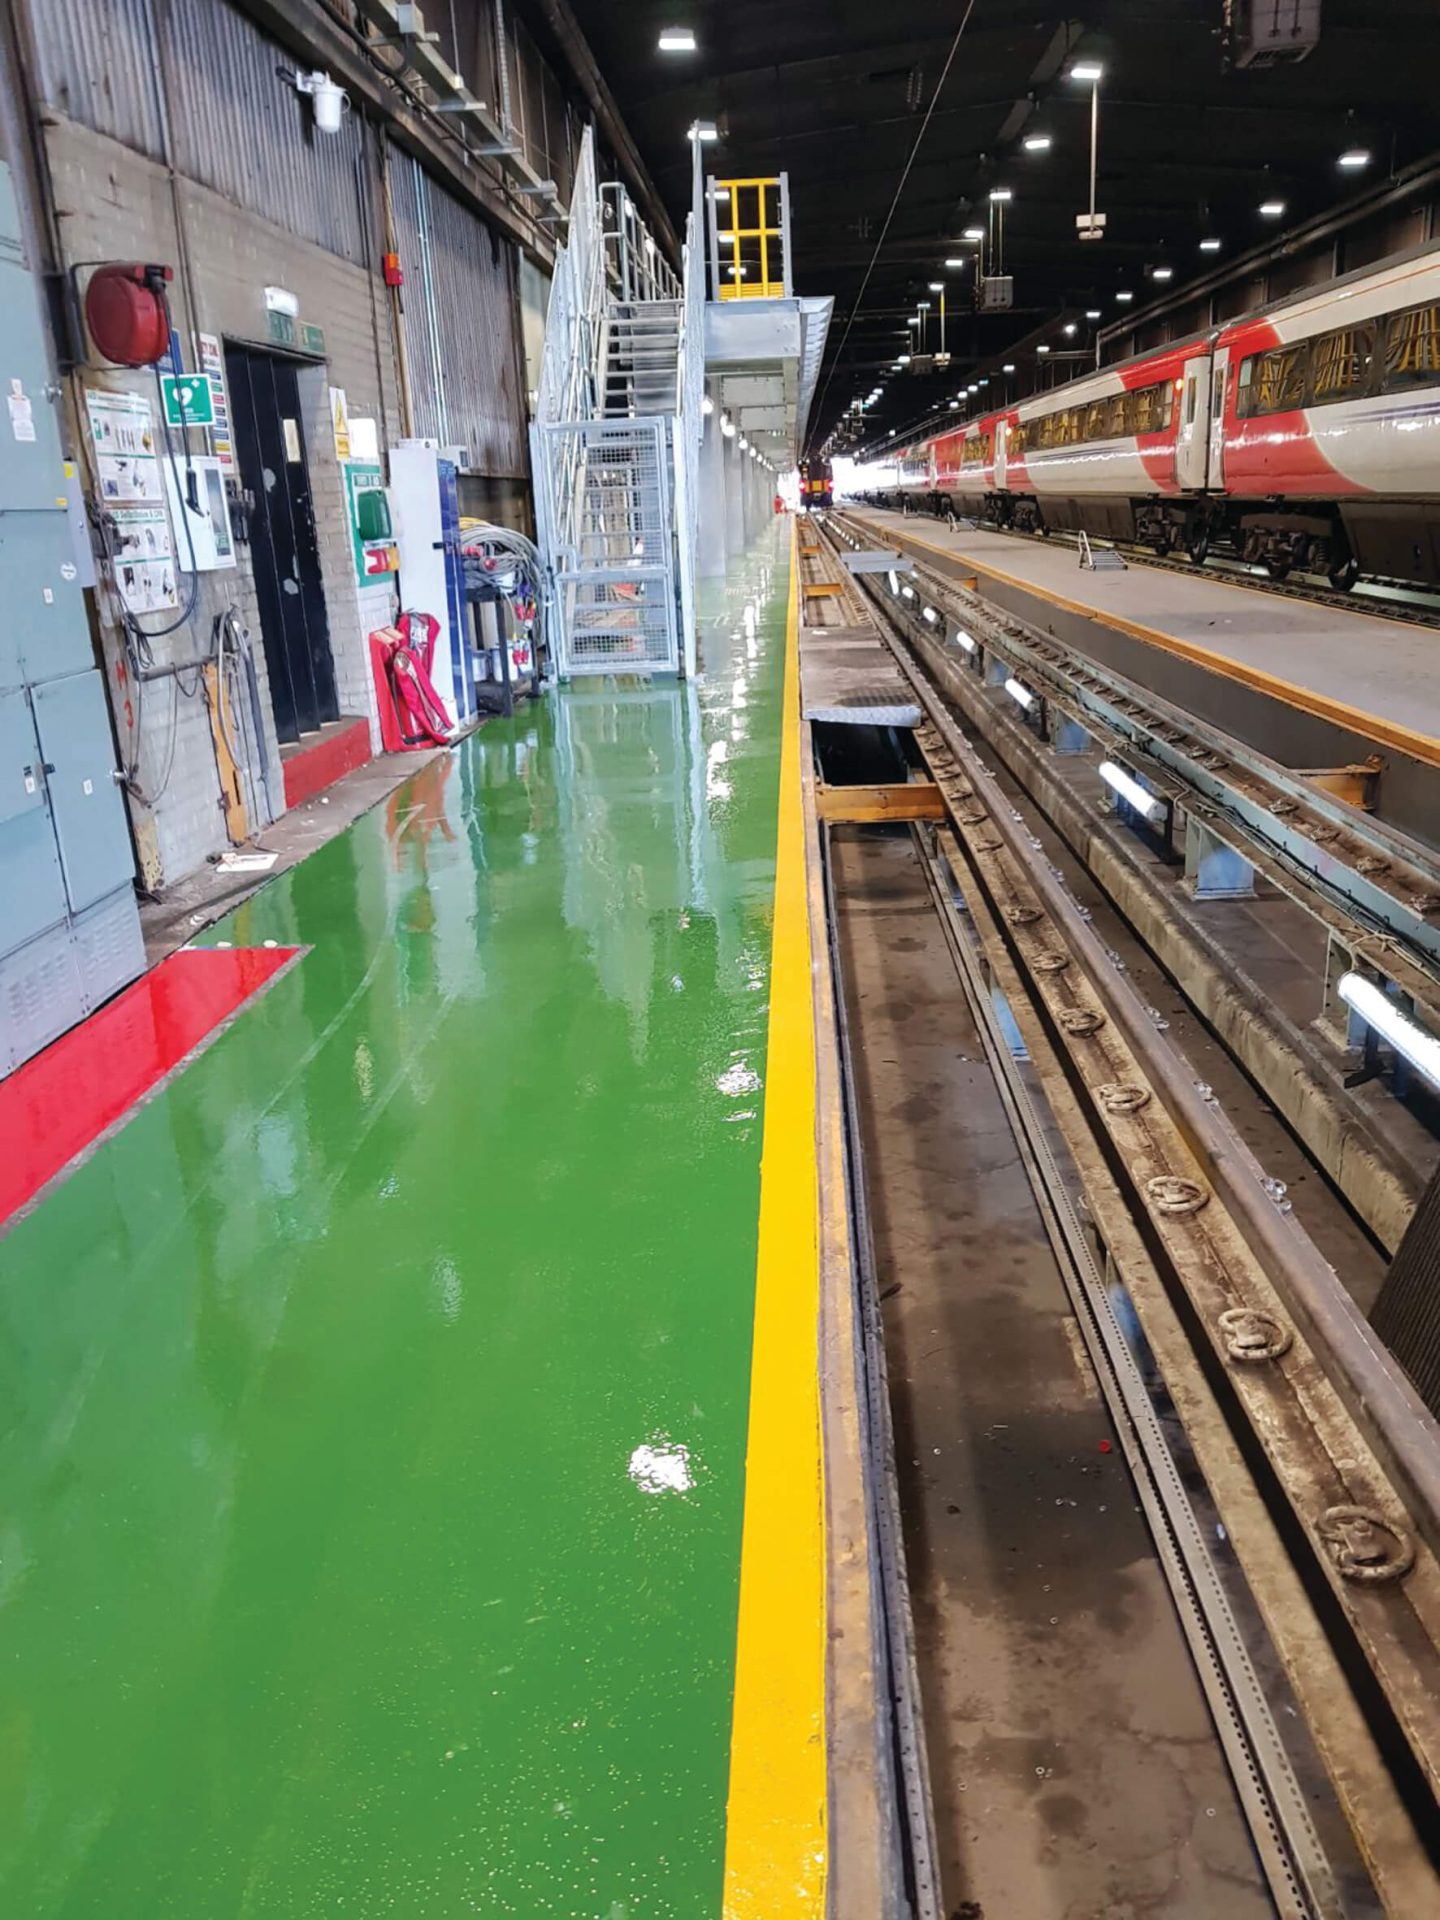
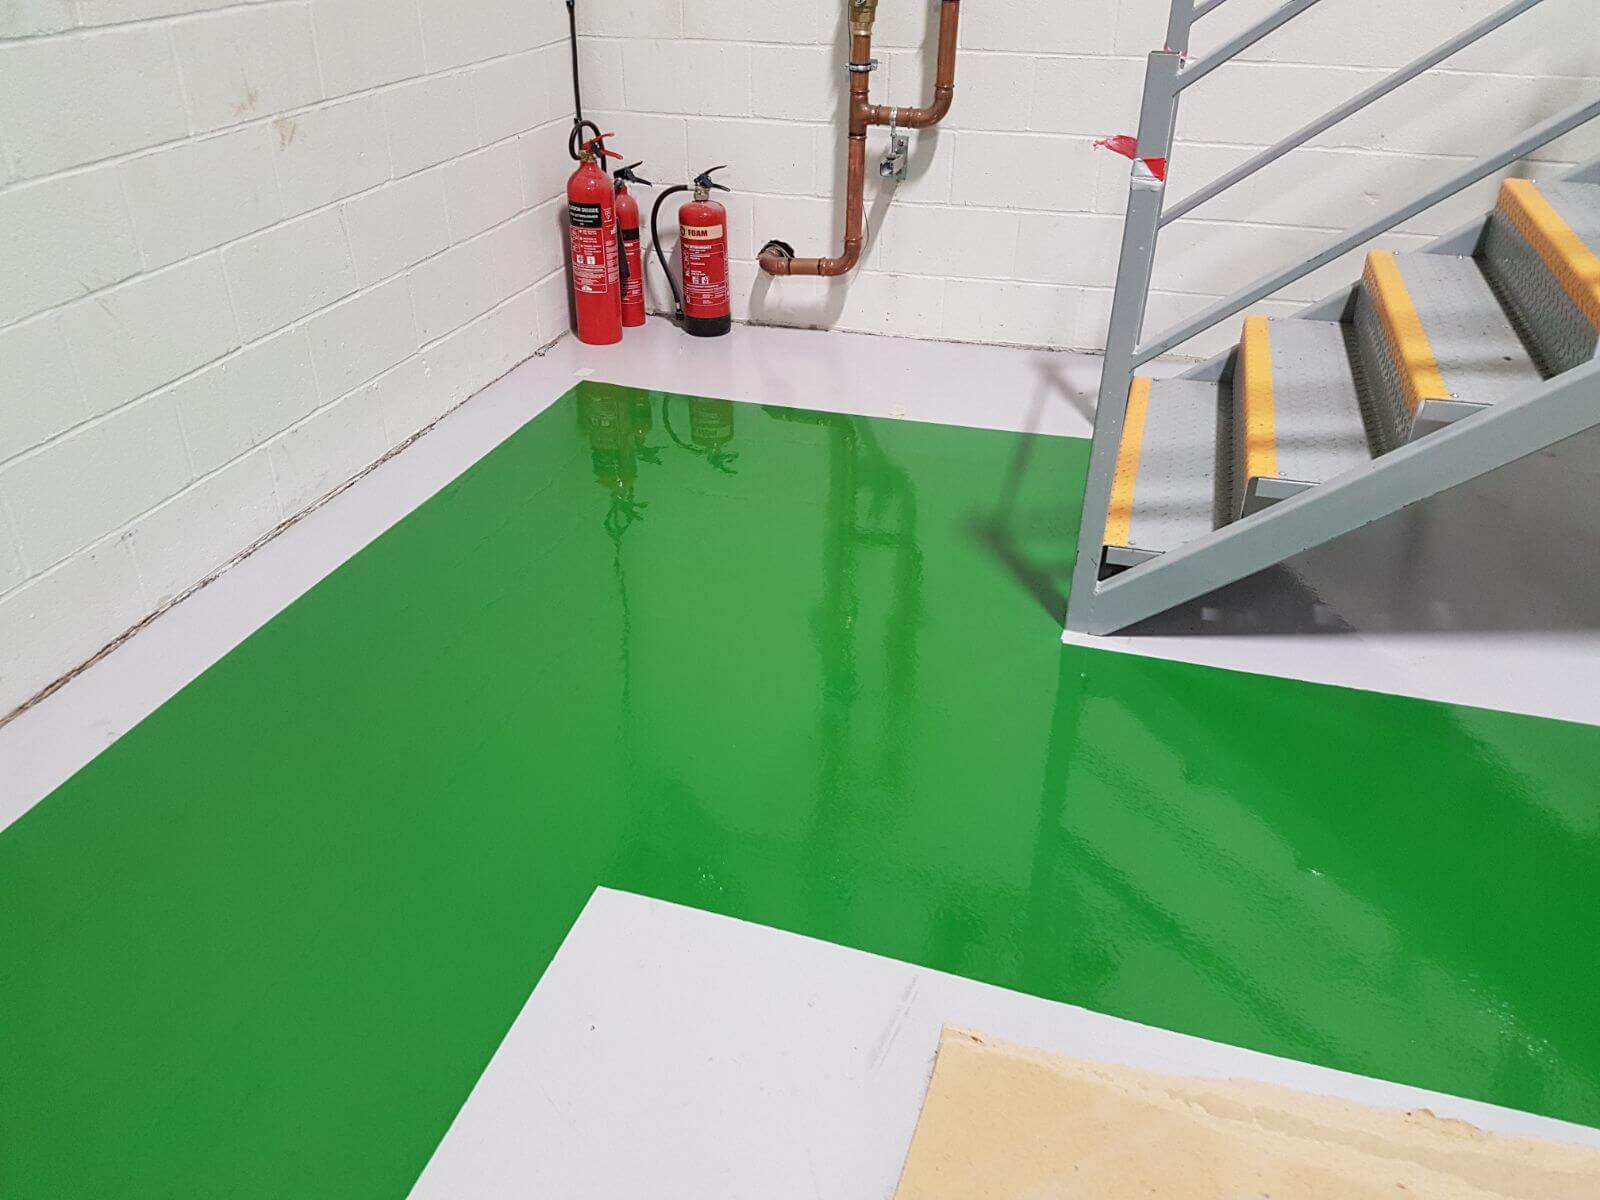
Suitable substrates.
Following the application of the appropriate primer, Flortex® Professional may be applied to old and new concrete, including polymer-modified cementitious screeds, wood, metal, terrazzo, brick, block, etc.
Colour.
Flortex® Professional is available in a selection of 14 stock colours, or in a large range of BS4800 and RAL specifications (subject to minimum quantity).
Packaging.
Flortex® Professional is supplied in pre-measured quantities as a two part 7.5kg or 15kg unit, comprising a coloured epoxy resin blend Part ‘A’ and hardener Part ‘B’.
Surface preparation.
Concrete & Polymer Modified Screeds:
For substrates in contact with the ground, a damp proof membrane must be incorporated in accordance with CP 102 or for basement floors, BS 8102 and the screed should not include any water repellent admixtures. Unmodified sand cement screeds or those based on calcium sulphate are not suitable.
After preparing the surface, the base should have a relative humidity of no more than 75% when measured according to BS 8203. The substrate should have a reading of 25 or above when tested using a rebound hammer in accordance with BS EN 12504-2 type N and pull-off strengths in excess of 1.5N/mm² when tested in accordance with BS EN 13892-8.
Before the application of any epoxy resin floor paint or screed, properly prepare the substrate, ensuring it is clean, dry, and free of surface laitance and contaminants such as oil stains, grease and dirt. For the removal of loose and friable material, the use of a vacuum-assisted shotblaster or grinder are recommended. For less damaged surfaces a floor scraper might be sufficient. A loss of adhesion and failure of an epoxy resin floor paint can occur due to poor preparation.
Prior to the top coat application of Flortex® Professional a suitable Polycote primer should be applied, depending on the type and condition of the substrate.
Mixing.
All materials should be stored between 10°C and 25°C for a minimum of 8 hours before use.
Having fully prepared the floor area, stir the individual components before you mix them together. As pigment may ‘sink’, ensure that the mixing is very thorough and from the bottom of the container.
Add the Hardener (Part B) to the coloured Resin (Part A) and thoroughly mix for at least 3 minutes. For best results use a heavy duty slow speed drill with a mixing paddle.
Scrape the sides and bottom of the mixing vessel with a spatula several times as any unmixed material will result in uncured patches in the final floor finish.
Application.
The epoxy floor paint may be applied with a medium pile simulated sheepskin roller, working well into the substrate, but do not exceed the coverage rate. Edges and difficult to reach areas can be applied by brush.
Flortex® Professional is normally applied between 0.3kg to 0.5kg per 1m². When the quantity of resin used exceeds 0.5kg/m2, air bubbles may become trapped within the epoxy coating. These are removed using a Polycote Spiked Roller. This must be carried out immediately after application of the resin BEFORE CURING TAKES PLACE. Spiked shoes should be worn to avoid disturbing the wet top coat.
If you require an epoxy floor paint in a slip resistant finish, use Flortex Professional Non Slip – gradually sprinkle Kiln Dried Aggregate onto the WET resin at a rate of 2-3kg/m². The quantity of aggregate required will depend on the thickness of the initial coating. Please note spiked rolling is unnecessary for the first coat when using aggregate. Allow first coat to fully cure (preferably 24 hours) before removing all excess aggregate.
A final and second coat of Flortex® Professional should then be applied, the thickness of this coat may be varied depending on the finish required but should be significantly less than the first base coat used.
Please note: Yellow, White, and Safety Red will usually require 2 coats.
All the relevant technical information will be included in the data sheet provided.