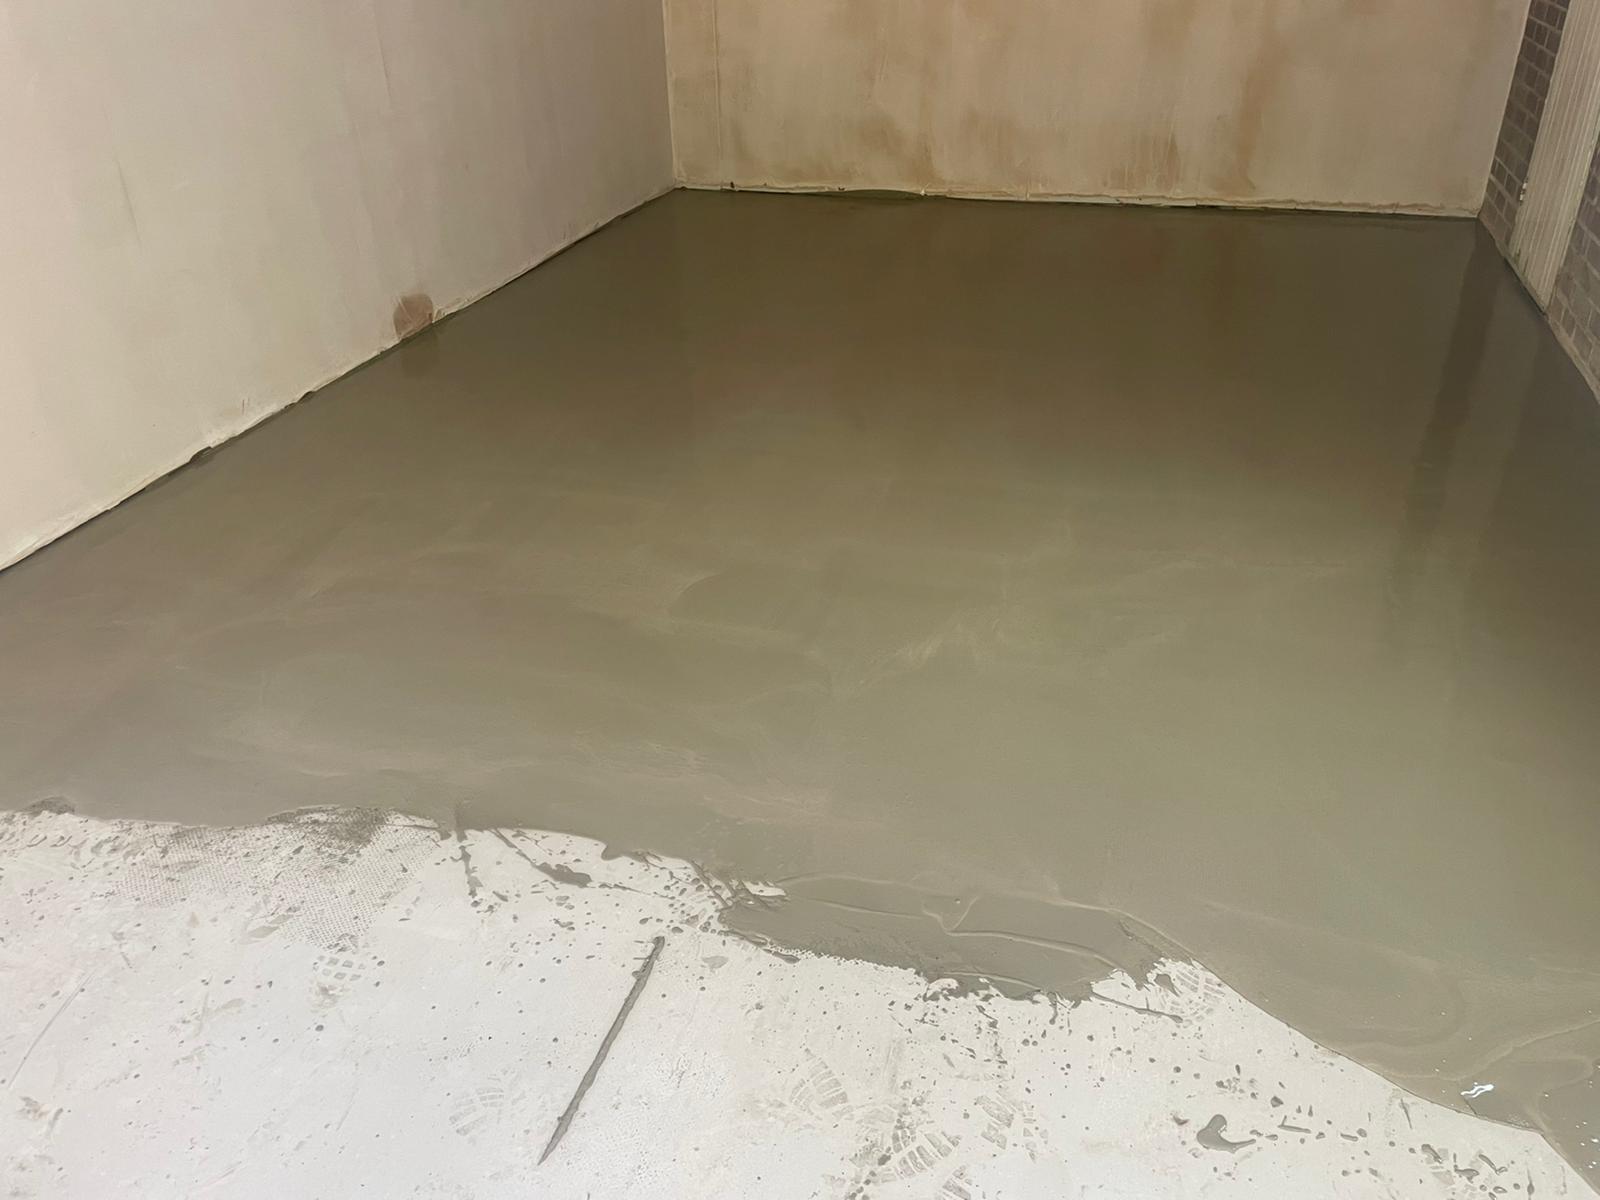
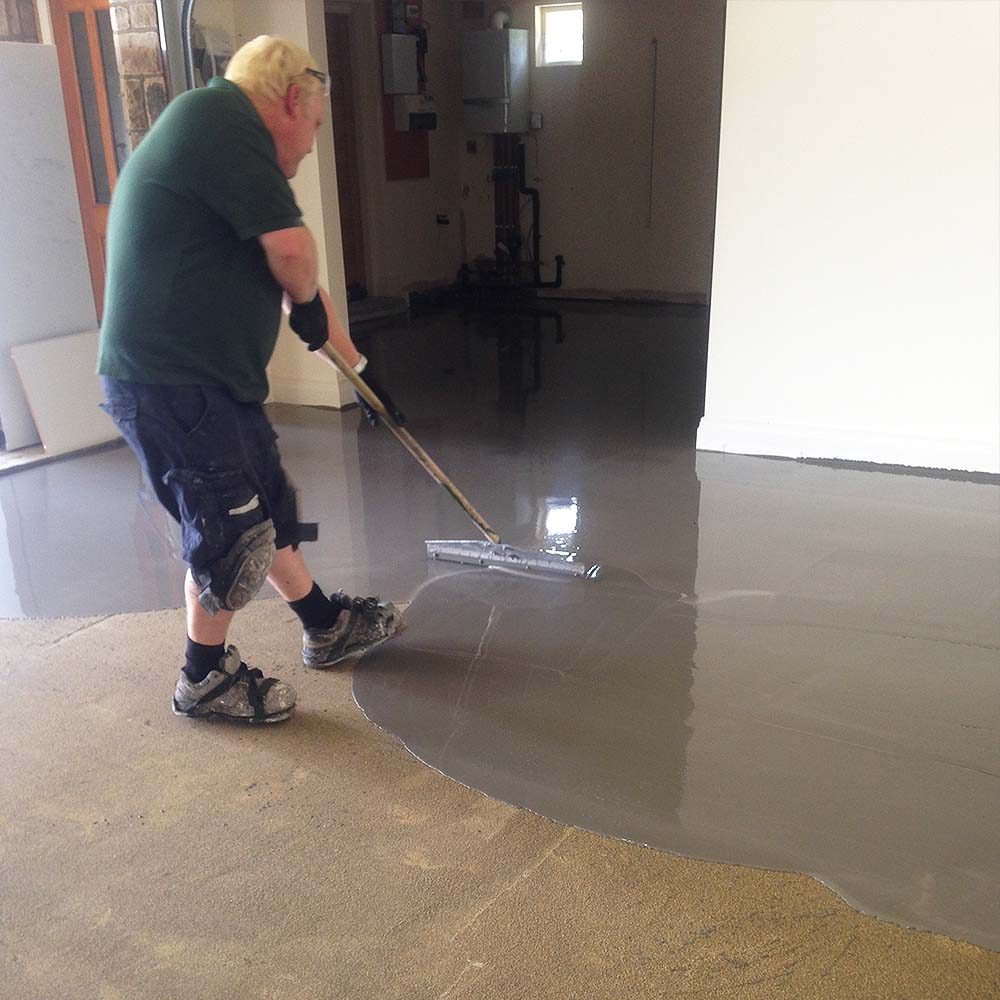
How to Screed a Floor Using Sand Cement Screed
Whether you are renovating your home or constructing a new building, one of the most critical stages is floor screeding. A well-screeded floor ensures a level surface, smooth finish, and improved durability. In this step-by-step guide, we’ll detail everything you need to know, to achieve a perfectly screeded floor.
Preparing the Sub Floor
For all types of bonded sand/cement screeds, the preparation of the base layer is of paramount importance. The structural concrete base should be a minimum level of C28/35 concrete, with a minimum cement content of 300kg/m3.
Before you start screeding the floor, it’s essential to ensure that the subfloor is prepared correctly, as follows:
Removing all Dirt, Loose or Friable Material
1)Ensure the removal of all debris and loose or friable material such as dust, dirt, loose paint, screed, etc
Note: If the quality of the substrate is very weak/poor, it is advisable to get ‘down’ to as solid a surface as possible. (It might be that the more you brush, the more substrate you remove! If this is the case, please read our article Priming & Strengthening of a Weak / Porous Substrate)
2) The three most common ways to remove paint dust and friable material from the surface are:
a) Brush or Vacuum
b) Acid Etching (not for the removal of paint)
c) Vacuum Assisted Grinding or Shotblasting
Oil Contamination or Rising Damp Issues
1) Oil & Contamination
Having removed all loose material from the surface, it is vitally important to ensure there is no oil or contamination as this will cause a barrier that will prevent the adhesion of the screed and ultimately cause the screed to fail. If any contamination is present in the existing sub floor, this should be sealed with a specialist oil tolerant primer such as Polycote OT Primer. Apply the first coat to give the initial seal to the surface and then cross roll a second coat and broadcast kiln dried sand onto the wet coating. Once cured brush off all excess loose sand. This is to give the screed a good clean and solid surface on which to adhere.
2) Rising Damp
Furthermore, ensure that you do not have any evidence of rising damp due mainly to either damaged or non-existent damp proof membrane. If there is evidence of damp, the floor must be sealed with two coats of a liquid damp proofing resin such as Polycote DPM Primer. The first coat to give the initial seal. The second coat should be crossed rolled to ensure a complete seal. This second coat should then be broadcast completely with kiln dried sand to ensure the screed has a surface on which to adhere.
3) Oil Contamination AND Rising Damp Issues
If you have both contamination AND rising damp, this can be solved using Polycote OT Primer XFH which is capable of sealing both issues at once. Please follow the same two coat procedure as mentioned above.
Joints
Joints within the subfloor should be grouted at least one day before placement of the screed.
Checking Existing Floor Levels
If the reason for screeding a floor is simply to smooth a rough or worn surface, the checking of the levels may not be necessary. However, if you know you have high spots within the floor area to be screeded and the whole point of the screeding is to achieve a level surface, it is well worthy to note that the grinding off of such high spots can equal a huge saving in the amount of material needed to create a level floor.
Setting up Guide Rails or Battens
You can set up guide rails or battens to act as level markers when screeding. This is especially important if you are screeding a large area. Ensure that the guide rails are secure and level before pouring the screed mixture. The guide rails should be placed at a distance that will allow you to screed the floor in sections. This will help you to achieve a level finish.
Mixing Floor Screeds
Ensuring Consistency and Quality
It’s essential to ensure that the screed materials are mixed consistently, to avoid over mixing or under mixing. A good screed should have a uniform consistency with no lumps or irregularities that could weaken its strength. You can test the consistency of the screed by using a slump cone. The screed should have a slump of around 75mm to 100mm.
It’s also best to add the water gradually and mix it in thoroughly to avoid overmixing or undermixing the screed.
Ready-mixed sand and cement screeds are also available. Delivered by lorry direct to site, they mostly offer better consistency over site-mixed materials, together with a higher levels of quality assurance.
Mixing Ratios
The strength of the screed will ultimately depend upon the sand to cement ratio and is typically made from 1 part cement to 3 – 6 part sharp sand. The less sand added to the cement, the stronger the screed will be. If you are working to an architect specification, it is vitally important that the strength of the concrete (the strength being determined by the mixing ratio) is as per the specification.
If you do not have an architect’s specification, then make certain you agree with the client so as to meet their expectations. However, if you are in a situation where it is left to your own integrity then please make absolutely certain you make the mix strong enough to withstand whatever amount of stresses or wear and tear you are expecting the screed to be subjected to. Far too many people / contractors skimp on the quantity of cement which only results in a very poor-quality screed!
Recommended Screed Thicknesses
Bonded Sand Cement Screeds
The user is advised to gain helpful advice and instruction from information as provided in BS 8204 Part 1. There, it is stated that the minimum thickness for a bonded screed should be 25mm. Where the bonded screeds need to be greater than 40mm, the user should note that there is an increased risk of debonding. Therefore, the use of a modified screed or additives mixed in with the sand and cement during the mixing process will help reduce potential shrinkage.
Unbonded Sand Cement Screeds
The screed thickness of an unbonded screed should be no less than 50mm. Again, the user is advised to gain further helpful advice provided in BS 8204 Part 1, where it notes that unbonded screeds have a high risk of ‘curling’ during the curing process. In order to help minimise this risk, a thicker screed should be installed. Furthermore, reinforcement should be placed within the screed across joints and/or previous large movement cracks.
Unbonded Sand Cement ‘Wearing Screeds’
It is advised that a wearing, unbonded screed is best laid between 100mm and 150mm thick to minimise the risk of curling.
Bonded Sand Cement ‘Wearing Screeds’
For Wearing Bonded Screeds, it is advised to use a minimum of C25/30 concrete and installed at nominal thickness of 75mm. The use of such concrete rather than sand/cement screed reduces but potential shrinkage and possible debonding. The use of mesh reinforcement not only further helps to reduce shrinkage but also greatly helps to strengthen the concrete.
Safety Equipment & Precautions
Screeding a floor can be challenging, which is why it’s essential to observe various safety measures such as:
- Wearing safety goggles: This will protect your eyes from dust particles that may be released during the mixing and application of the screed.
- Using gloves when handling screed materials: This will protect your hands from the abrasive nature of the screed materials.
- Wearing a dust mask to avoid inhaling dust particles: This will protect your respiratory system from dust particles that may be released during the mixing and application of the screed.
- Working in a well-ventilated area: This will ensure that there is adequate air circulation to prevent the build-up of dust particles in the air.
With the right materials, tools, and safety equipment, you can achieve a well-screeded floor that is level and smooth. Whether you are laying a new floor or installing underfloor heating, screeding is an essential process that should not be overlooked.
In Conclusion
Floor screeding is a crucial process that requires careful preparation, planning, and execution. By following the steps outlined in this guide, you can achieve a well-screeded floor that provides excellent thermal insulation, improved acoustics, and a long-lasting finish. A well-screeded floor can also help to increase the value of your property and provide a safe and comfortable living environment. So, take the time to ensure that your floor screed is of high quality and consistency, and you’ll enjoy the benefits for years to come.
Related articles
Types of Floor Screed
Why has my New Floor Coating or Screed Failed to Stick?
Thank You
Polycote UK would like to take the opportunity to thank you for taking an interest in these product and application articles and hope they have been some help to you.
We would of course be pleased to answer any specific questions should you wish to contact us directly on 01234 846400 or email: help@polycote.com
Further Sources of Helpful Information
British Standards Institution, BS 8204: Screeds, bases and in-situ floorings
- Part 1: Concrete bases and cement sand levelling screeds to receive floorings
- Code of practice. BSI, 2003.
British Standards Institution, BS 8204: Screeds, bases and in-situ floorings
- Part 2: Concrete wearing surfaces
- Code of practice, BSI, 2003
British Standards Institution, BS 8204: Screeds, bases and in-situ floorings
- Part 7: Pumpable self-smoothing screeds
- Code of practice, BSI, 2003
British Standards Institution, BS 8203:
- Code of practice for Installation of resilient floor coverings, BSI, 2001
M J. Gatfield, Report 184:
- Screeds, floorings & finishes – selection, construction & maintenance, CIRIA 1998
Mortar Industry Association:
- Data Sheet 22: Screeds