How to Prepare a Concrete Floor
Preparing a concrete floor properly is absolutely critical before applying coatings like paint, sealers or industrial finishes. The quality of your preparation directly affects adhesion, durability and long-term performance – whether you’re coating a garage floor or an industrial workshop.
Before we dive in, remember: the right preparation method depends on the condition and type of concrete, how the floor will be used, and the coating system you plan to apply.
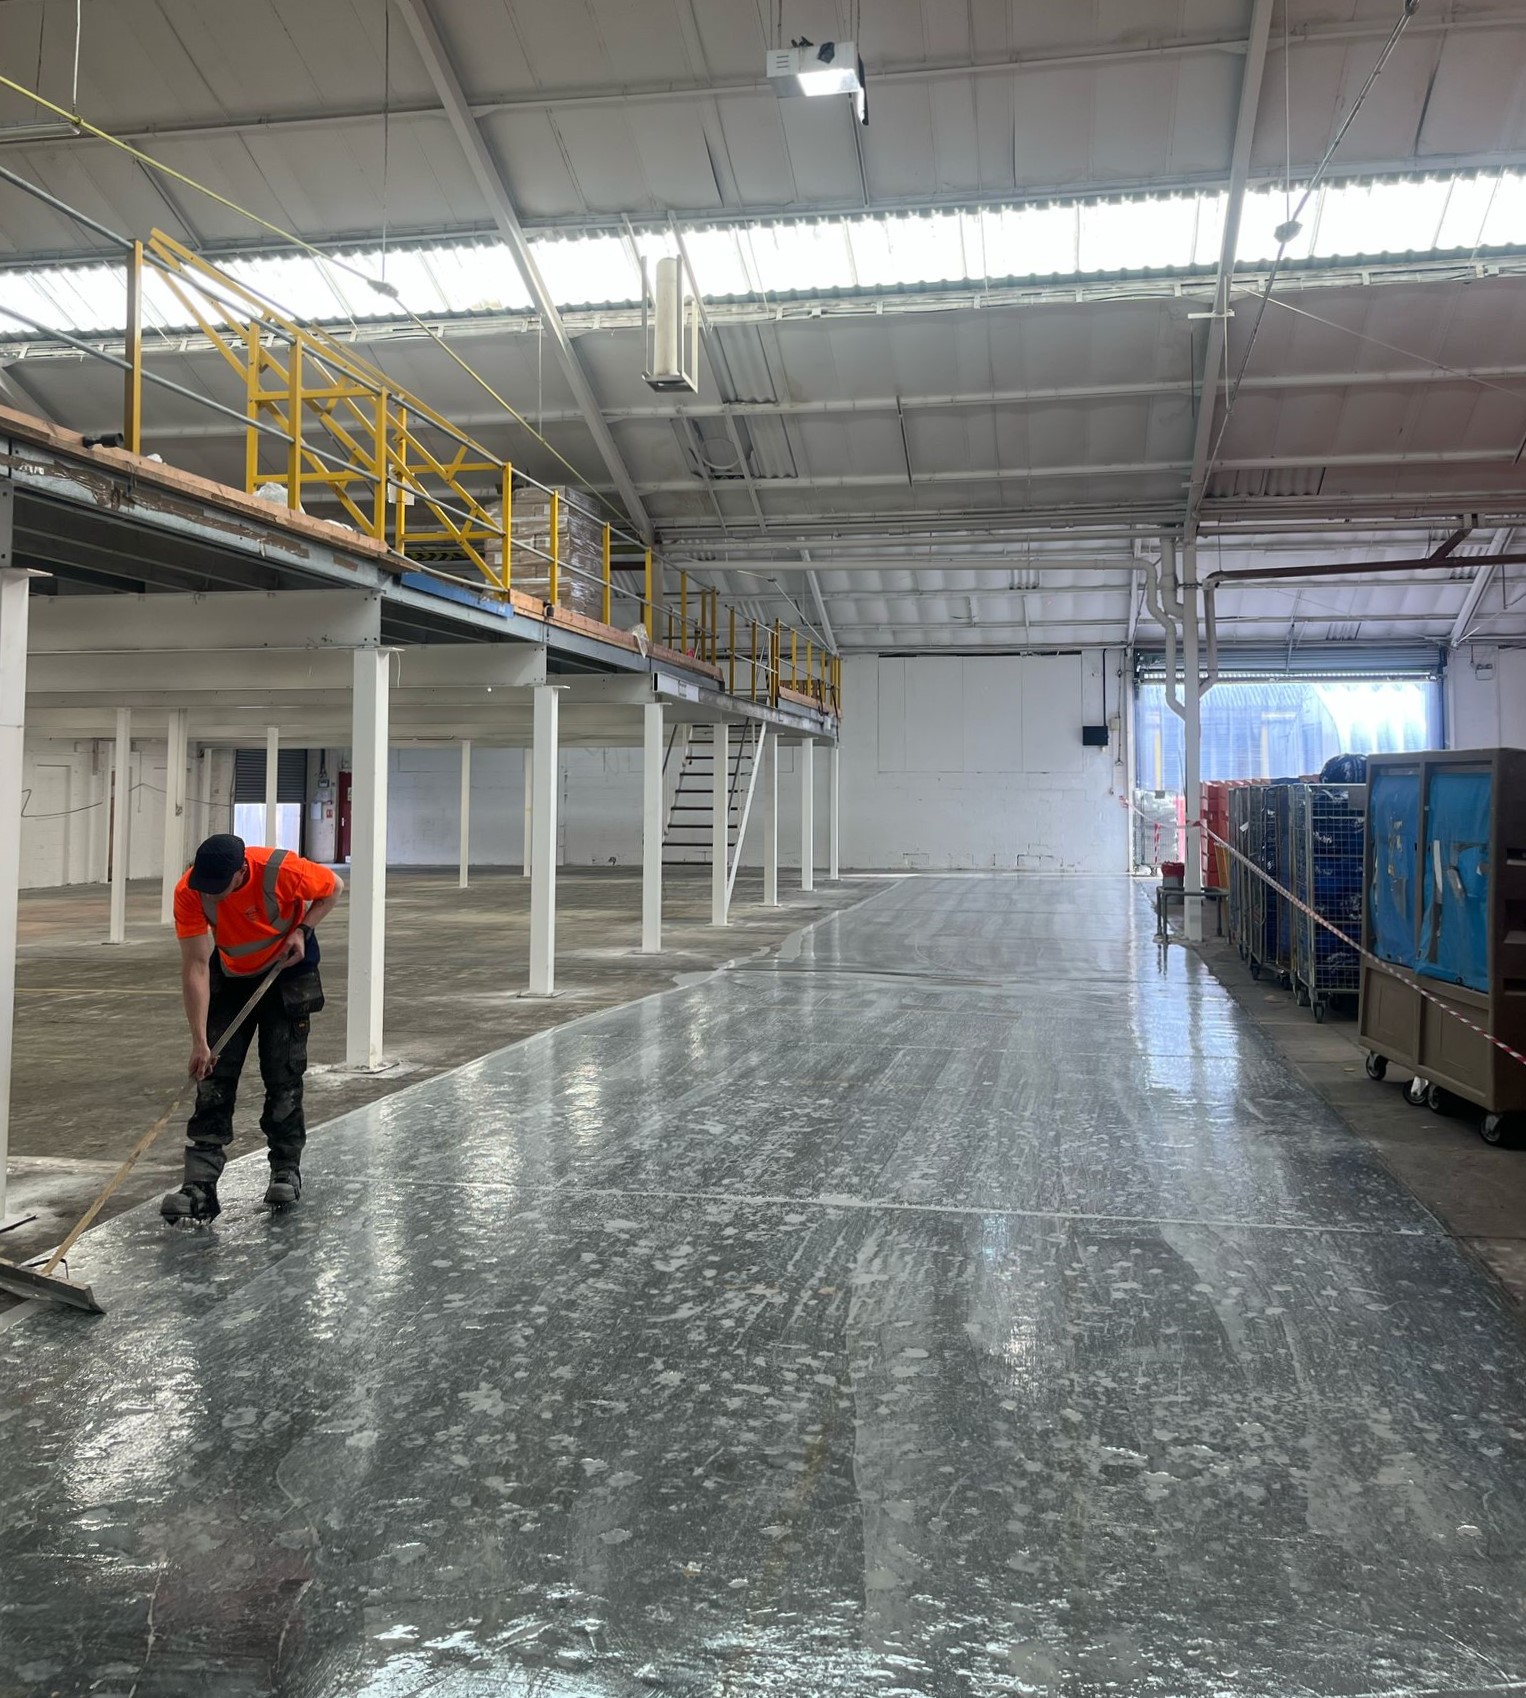
1. Start with a Clean Slate
Concrete is porous, and dirt, dust, oil or curing agents left on the surface will stop coatings from bonding properly.
Basic Cleaning
- Sweep or vacuum the entire floor to remove loose debris and dust.
- Use a wire brush or sander on stubborn surface grime.
- This first step also helps to “key” the surface, giving coatings a better mechanical grip.
Looking to go from clean to coated? See our guide on How to Paint Concrete Floors
2. Chemical Cleaning Options
When simple cleaning isn’t enough, especially for removing oils or weak surface layers (called laitance), chemical methods can help.
Acid Etching
- Uses a diluted acid solution, such as Etch IT, to dissolve weak surface layers and open up the pores.
- Helps coatings penetrate deeper into the concrete.
Always follow manufacturer’s instructions and use appropriate safety gear (gloves, goggles, respirator).
Solvent Cleaning
- Great for tackling stubborn oil and grease residues.
- Dries quickly, but can emit strong fumes — make sure there’s good ventilation.
Degreasing
- Applying a concrete degreaser, such as Degrease IT, breaks down fats, lubricants and other contaminants.
- Scrub and rinse the area thoroughly to ensure nothing is left behind.
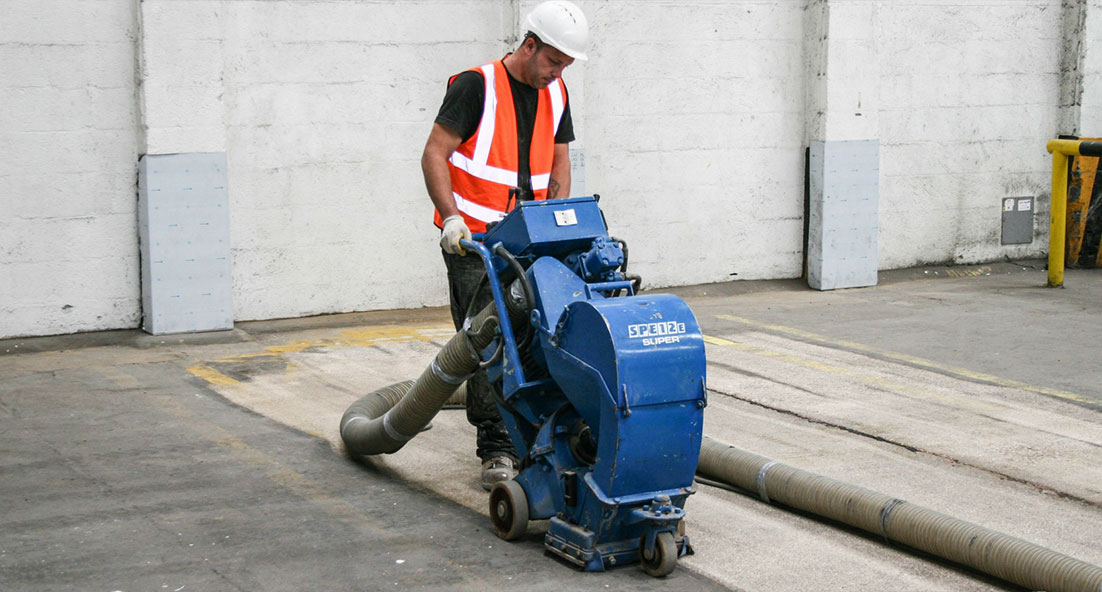
3. Mechanical Surface Preparation
For toughest jobs or larger areas, mechanical techniques deliver professional results.
Power Grinding
- Removes weak layers and smooths uneven surfaces.
- Often used in industrial settings to prep extensive floor areas.
Shotblasting
- Highly effective for removing contaminates and old surface coatings.
- Performed with industrial equipment and vacuum dust collection.
Scarifying / Scabbling
- Removes surface material aggressively when deeper preparation is needed.
- Ideal for floors with heavy contamination or coatings previously applied.
These methods create a textured surface that coatings can mechanically lock into, enhancing long-term adhesion.
4. Check Moisture and Surface Condition
Concrete dries slowly, and slabs that are still curing or damp may not accept coatings well. If moisture is too high, coatings can bubble, peel or fail prematurely.
Quick tip: Use a moisture meter or allow an extended drying period before coating.
Concrete dries slowly, and slabs that are still curing or damp may not accept coatings well. If moisture is too high, coatings can bubble, peel or fail prematurely.
Quick tip: Use a moisture meter or allow an extended drying period before coating.
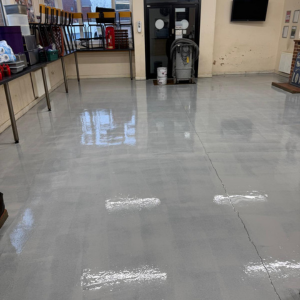
5. Prime Before Coating
Once the surface is clean, dry and profiled:
- Apply a primer that’s compatible with your chosen coating.
- Primer helps fill micro voids and improves adhesion — especially on previously contaminated or etched floors.
If you’re coating next, check out our full Concrete Floor Primers range to find the right product.
6. Final Pre-Coating Walkaround
Before any coatings go down:
- Ensure the surface is dust-free
- Confirm no oil, grease, curing agents or laitance remain
- Check that the texture is consistent across the floor
Good preparation now prevents problems later.
Before any coatings go down:
- Ensure the surface is dust-free
- Confirm no oil, grease, curing agents or laitance remain
- Check that the texture is consistent across the floor
Good preparation now prevents problems later.
Why Doing It Right Matters
Skipping proper floor preparation might save time at first, but it often leads to coating failure – from peeling and blistering to reduced lifespan and costly re-work. Correct surface prep makes sure your floor coating performs exactly as it should.
Skipping proper floor preparation might save time at first, but it often leads to coating failure – from peeling and blistering to reduced lifespan and costly re-work. Correct surface prep makes sure your floor coating performs exactly as it should.
Useful Next Steps
Need to repair damaged concrete first? Check out How to Repair a Concrete Floor for products and tips.
Once your floor is prepared, explore our range of floor coatings and sealers to finish the job beautifully.
Need to repair damaged concrete first? Check out How to Repair a Concrete Floor for products and tips.
Once your floor is prepared, explore our range of floor coatings and sealers to finish the job beautifully.
Need More Advice on Floor Preparation?
Our technical team are always on hand to answer any questions about floor preparation. Call us on 01234 846780 or email [email protected] any time between 7:30am – 5:00pm, Monday – Friday.

Article contributors