


How To Identify & Repair Damaged Concrete Flooring: A Practical Guide
Concrete floors are tough, but they wear out over time. This is especially true in busy places like factories, stores, and warehouses. Over time, heavy foot traffic and forklifts can cause damage. Moisture and the occasional knock from a pallet truck also contribute. The good news is that most concrete damage is easy to fix, provided you understand the issue at hand.
Here’s a practical breakdown of the most common concrete floor problems, how to spot them, and what to use to fix them.
Common Types of Concrete Floor Damage (And How to Fix Them)
1. Surface Cracks
What you’re seeing: Fine cracks across the surface of the concrete. These usually happen because of shrinkage or temperature changes. They aren’t structural but repairing them is wise. Otherwise, dirt and moisture can make things worse.
Concrete floors crack – pure and simple. It’s not a material that stretches or bends without breaking. While it can shrink and expand with changes in temperature, cracking is the result. Expansion joints are important because they guide movement into planned grooves. This helps prevent random cracks from forming on the surface.
How to fix them: Clean the crack thoroughly and ensure the surface is dry. Pour in Crackfiller EP100. It’s a pure epoxy resin with ultra-low viscosity. It seeps deep into cracks and cures stronger than the surrounding concrete. If you don’t know how deep the crack is, pour kiln-dried sand into it. This helps keep the resin crack filler from getting lost.
2. Pitting
What you’re seeing are tiny holes or divots forming on the concrete surface. Impact damage, poor-quality concrete mix, or chemical exposure can cause these.
How to fix it: Repair with Cretex EP. Clean the area well. Make sure it’s free of loose debris, dust, or contaminants. You don’t need to prime before applying. Cretex EP is a twin-pack resin. It has a 1:1 mix ratio of resin to hardener. This makes mixing quick and easy, with no waste.
After mixing, trowel the compound onto the affected area. You can use it on a feather edge. This helps it blend smoothly with the floor. Cretex EP cures within 6–8 hours, resulting in minimal downtime while it dries.
Cretex EP is extremely durable and can withstand heavy traffic. It’s solvent-free and non-toxic, which makes it safe to use. You can apply it in many places like garages, warehouses, and offices. Cretex EP is perfect for this kind of repair work. It needs no priming or power tools, creates no waste, and cures quickly. It’s even available in many colours (grey, buff, and red) to match existing flooring.
3. Spalling
What you’re seeing: The top layer of concrete is flaking or chipping away – usually in larger patches. It’s often caused by freeze/thaw cycles, poor curing, or corrosion beneath the surface.
How to fix it: For smaller areas, repair with Cretex EP. Remove all loose material first, then mix and apply the product. There’s no need to prime the surface, no need for any power tools, and no waste afterwards – simple! Cretex EP cures fast, usually in 6 to 8 hours. It’s also very strong, with a compressive strength of 70 N/mm².
For larger areas of spalling, choose Cretex EP Mortar. It’s supplied as a pre-blended resin and aggregate kit, making it easy to mix and apply. Once you clean the surface and remove loose material, trowel the mortar in. This will make a strong, lasting repair. Cretex EP Mortar can be feather-edged. It cures in about 12 hours, which reduces downtime. It has great compressive strength and impact resistance. This makes it ideal for tough environments.
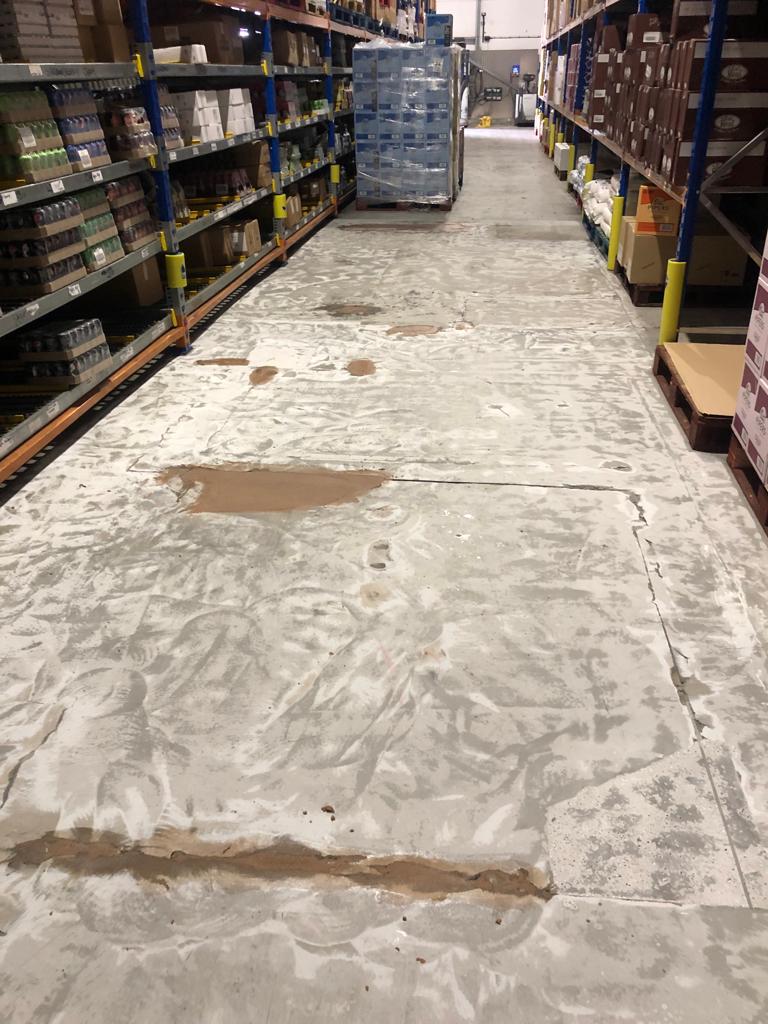
4. Holes and Uneven Patches
What you see: Local holes or dips in the floor. These areas have worn away, or someone has patched them badly before.
How to fix it: For smaller holes (under 10 mm deep), Crackfiller EP100, or Cretex EP are both excellent choices. For larger holes (10-50 mm deep), choose Cretex Deepfill. Begin by cleaning the area thoroughly to remove any loose debris and ensure the surface is dry. Mix the product as per the instructions, then trowel it into the hole, ensuring a smooth finish.
If your concrete floor has holes deeper than 50 mm, you’ll need to apply the Cretex Deepfill in layers. If you’re unsure about suitability or preparation, get in touch – we’d be happy to advise.
5. Damp or Moisture Problems
What you’re seeing: Moisture appearing at joints or around the perimeter of the floor. This may be coming up through the slab or tracking in from external walls. A lack of a damp-proof membrane or a defective one can cause moisture.
How to fix it: If moisture is rising through the concrete, you’ll want to cover the whole floor. If it’s perimeter moisture, you’ll need to coat a meter-wide strip to block ingress.
Start by preparing the surface. You can use mechanical grinding or acid etching. This helps ensure proper adhesion. Then apply a DPM Primer to seal the surface. Once primed, overcoat with a pure resin coating such as Flortex Professional. This strong epoxy coating is heavy-duty and lasts a long time. It resists chemicals well and has a smooth finish, so it’s perfect for damp areas.
Get in touch if you’re unsure how to proceed; we’re here to help.
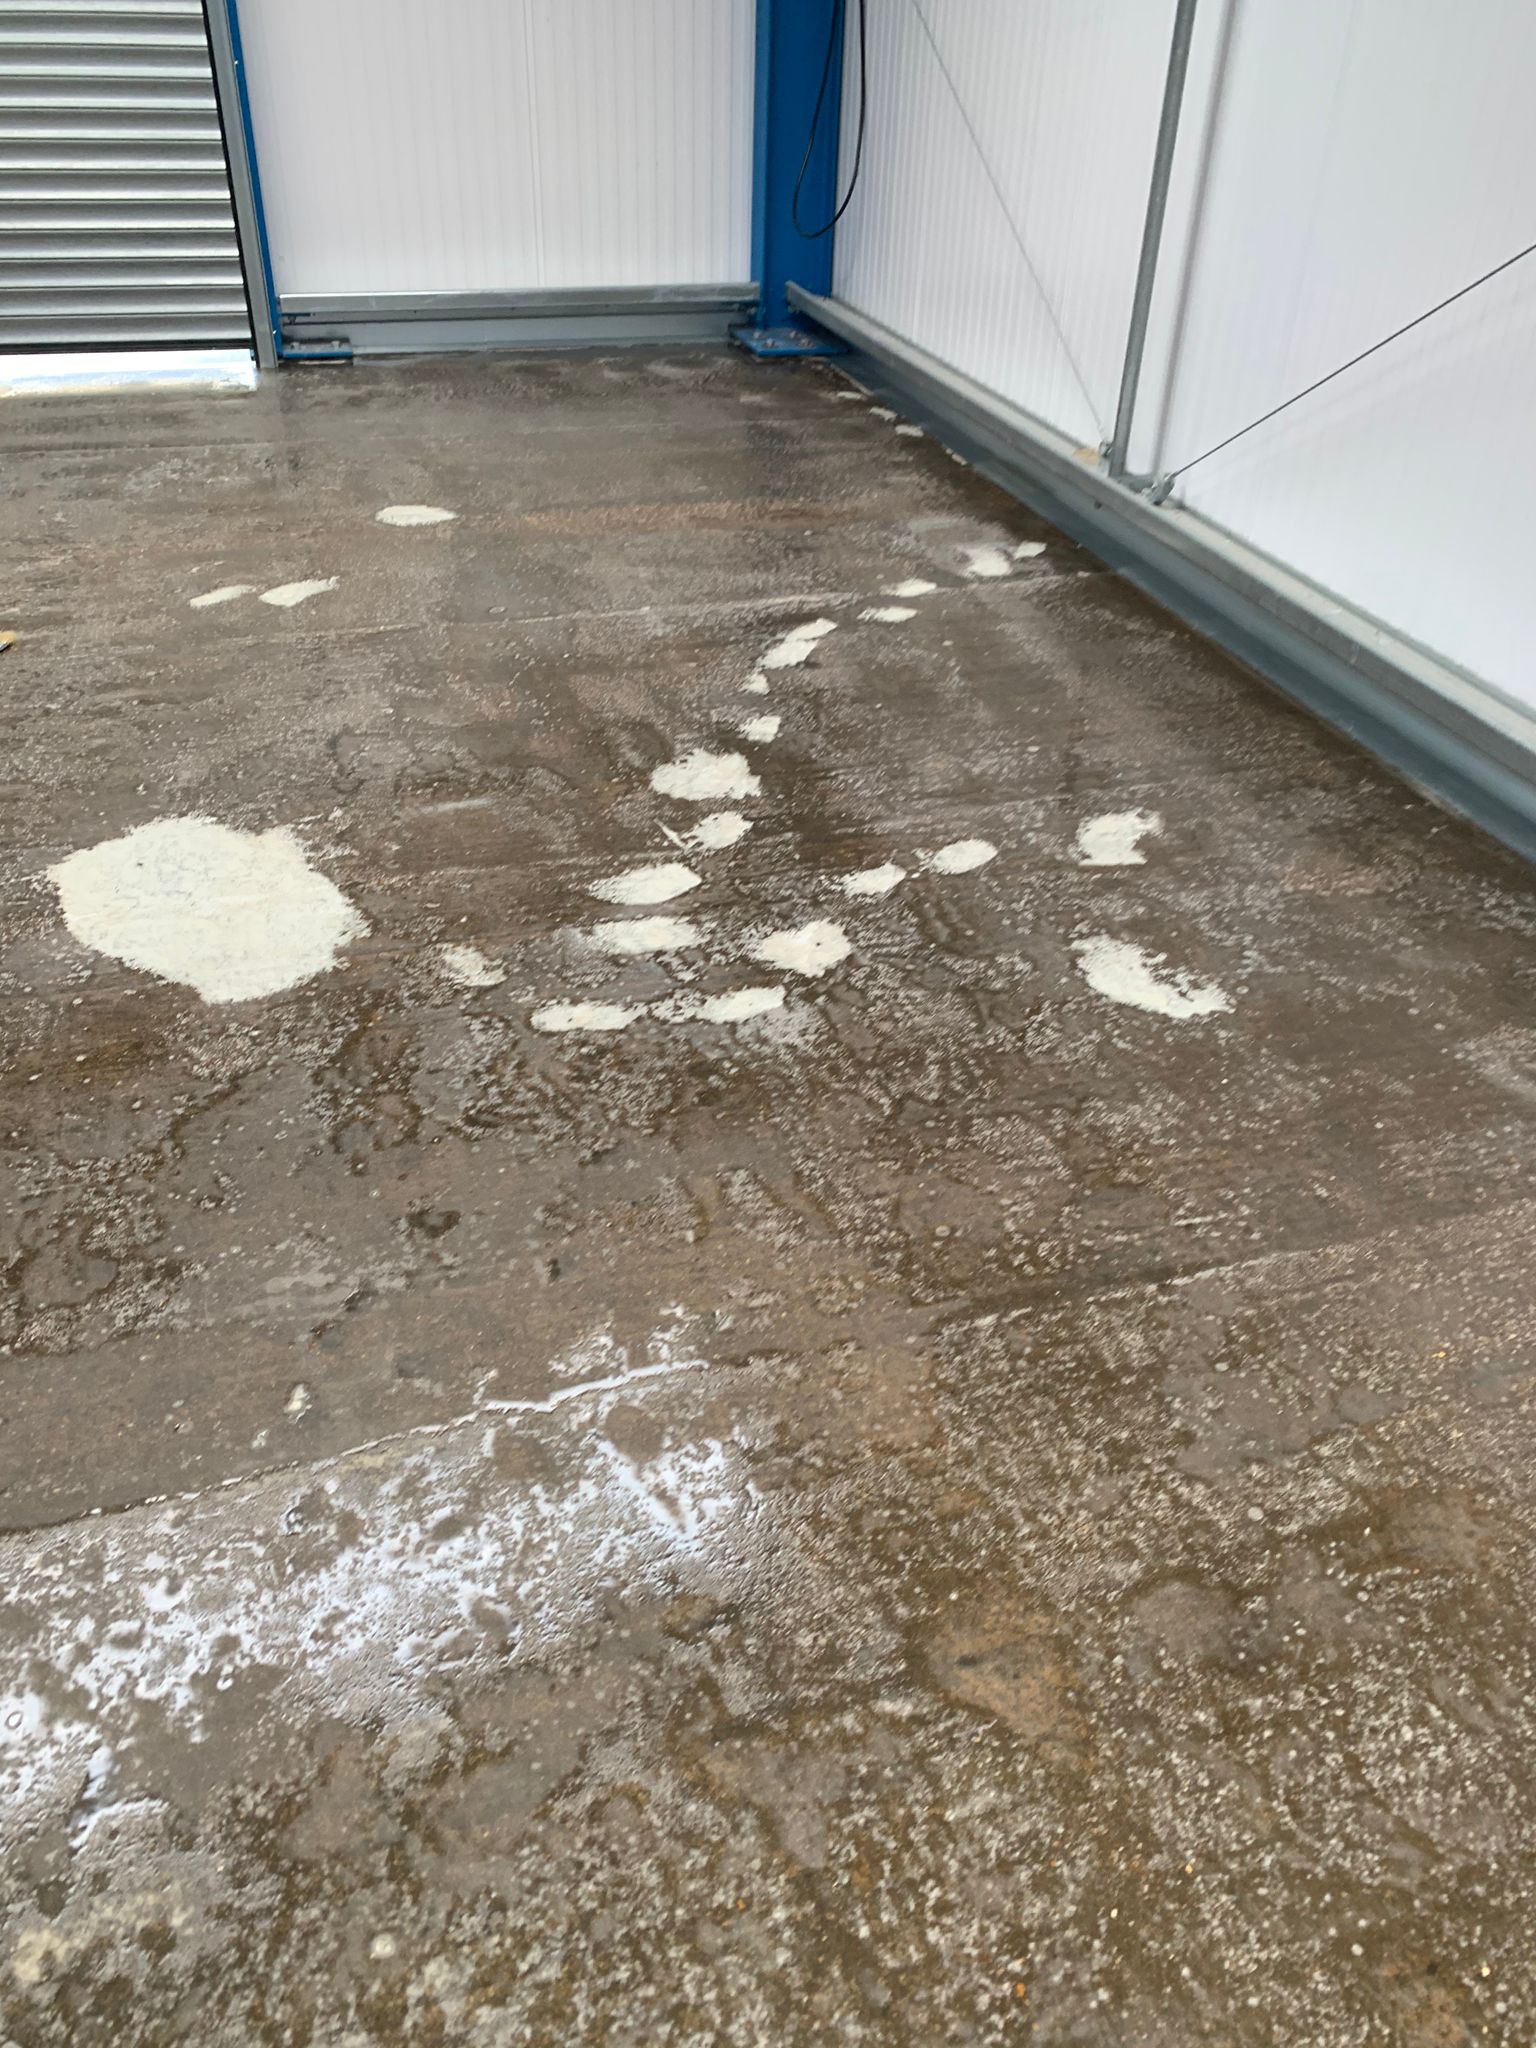
6. Water Penetration Under Doors
What you’re seeing: Water sneaks in under roller doors or entry points.
To fix it, use one of our epoxy mortars: Cretex EP Mortar, Cretex OT Mortar, or Cretex DPM Mortar. Mix it slowly with a drill and paddle. Then, trowel it into a shallow ‘speed bump.’ Contact us if you’re unsure which is right for your situation.
You could use a strong cement product mixed with polymer. You can apply it to a damp surface, but not a soaking-wet one.
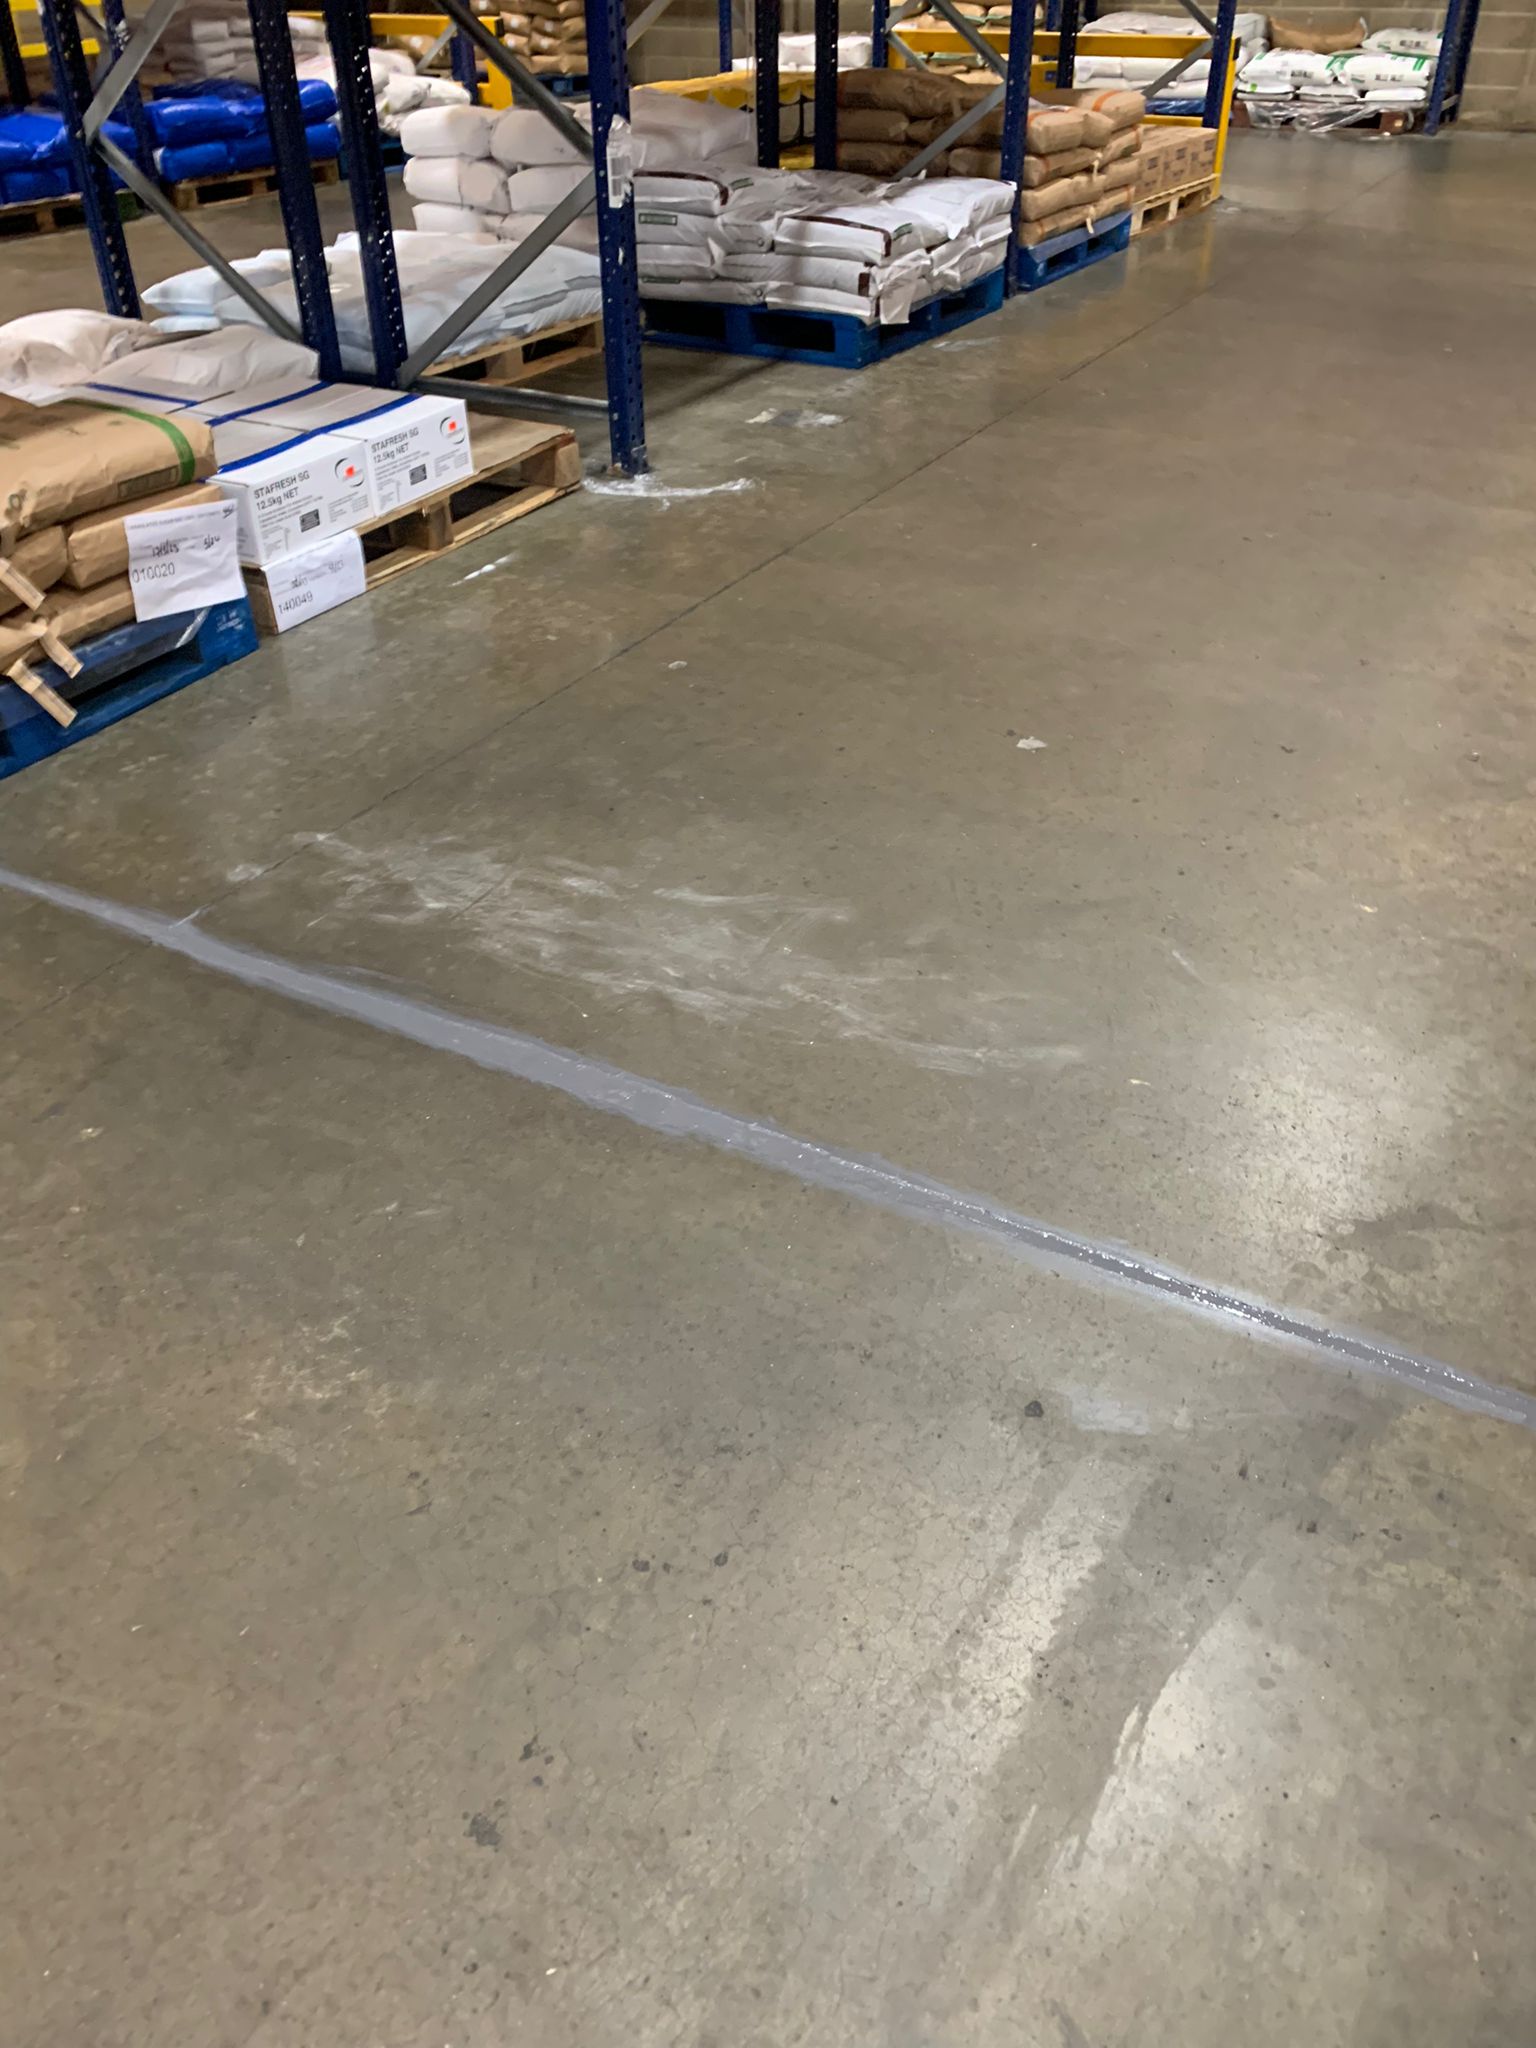
7. Damaged Expansion Joints
What you see: Open, worn, or broken joints between slabs. These joints handle movement.
To fix it: First, clean and dry the joint well. Then, fill it with Jointex PU. This sealant is flexible and can handle heavy traffic and movement. For a clean finish, mask either side of the joint and pour the resin so it extends slightly above the top. Peel up the masking tape and, as it starts to cure, run a knife blade along the surface to cut off any excess material. The joint is now flush and smooth. This makes it less likely to catch on equipment, like digger buckets or forklift wheels. Don’t leave it too long, though – once the resin has fully cured, trimming it becomes a much tougher job!
If the joints can’t be re-filled, clean them out. Then, fill the joint with a resin mortar and let it cure completely. The next day, recut a new joint for the repair. Then, fill it with Jointex PU. This ensures long-lasting durability and flexibility.
Not sure which repair product is right for you? Or do you have questions about prep and application? Call us at 01234 846400 or email help@polycote.com. We’ll walk you through it.
Concrete Floor Repair FAQs
Need further advice?
The Polycote team is here to help with your concrete floor repair. Give us a call tel:01234846400 or email help@polycote.com and we’ll walk you through it.
The Polycote team is here to help with your concrete floor repair. Give us a call tel:01234846400 or email help@polycote.com and we’ll walk you through it.
Article contributors


