


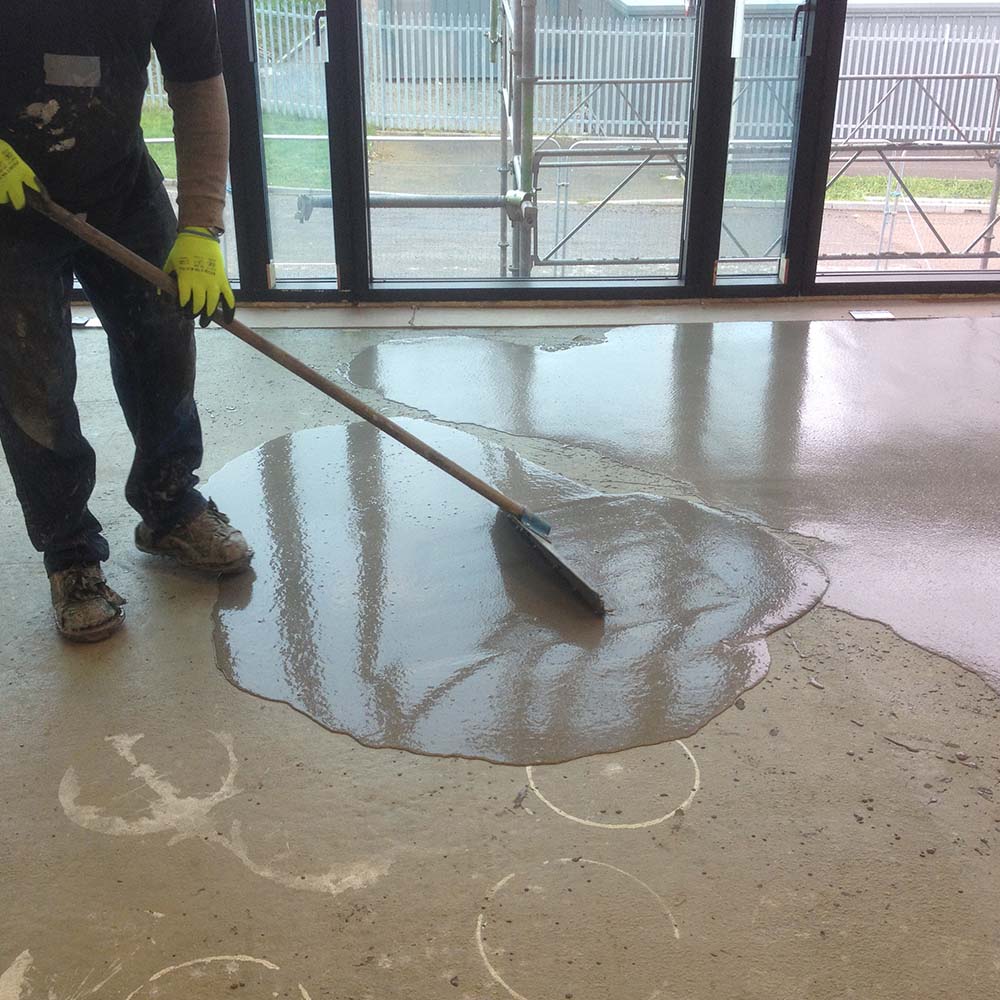
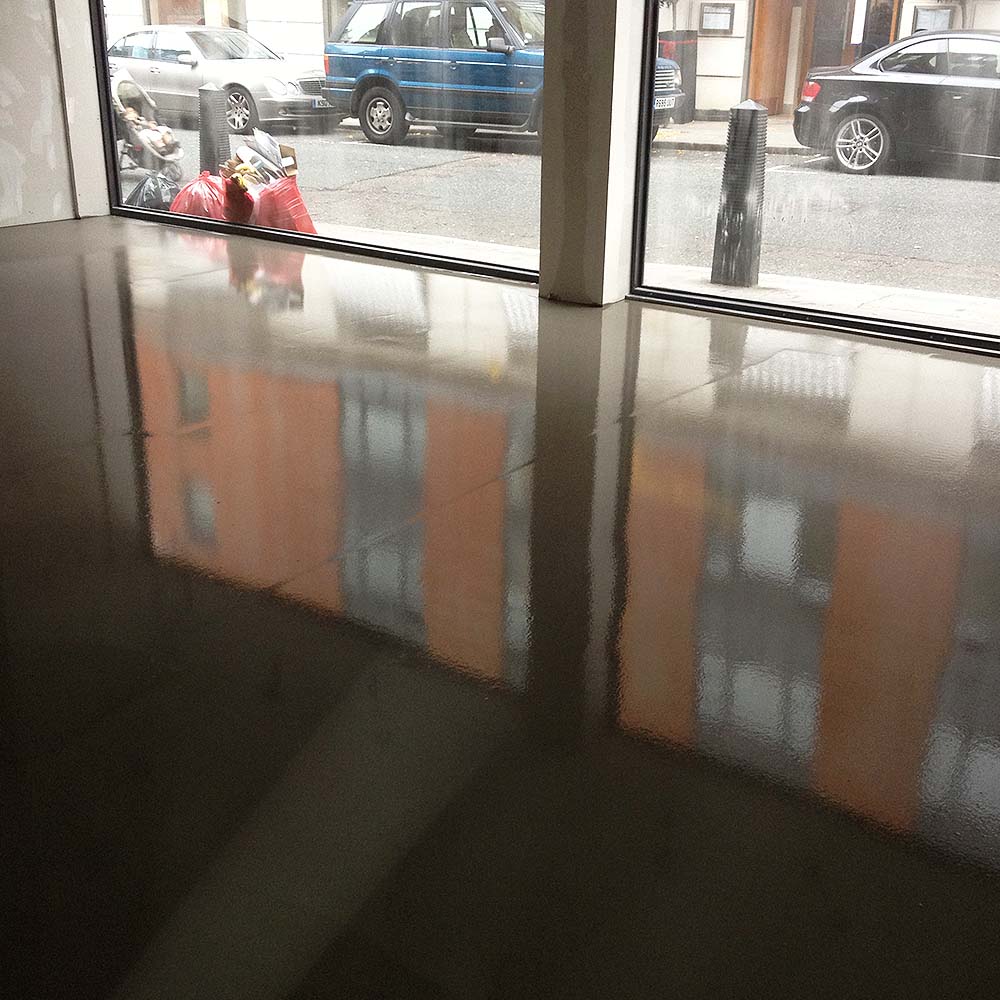
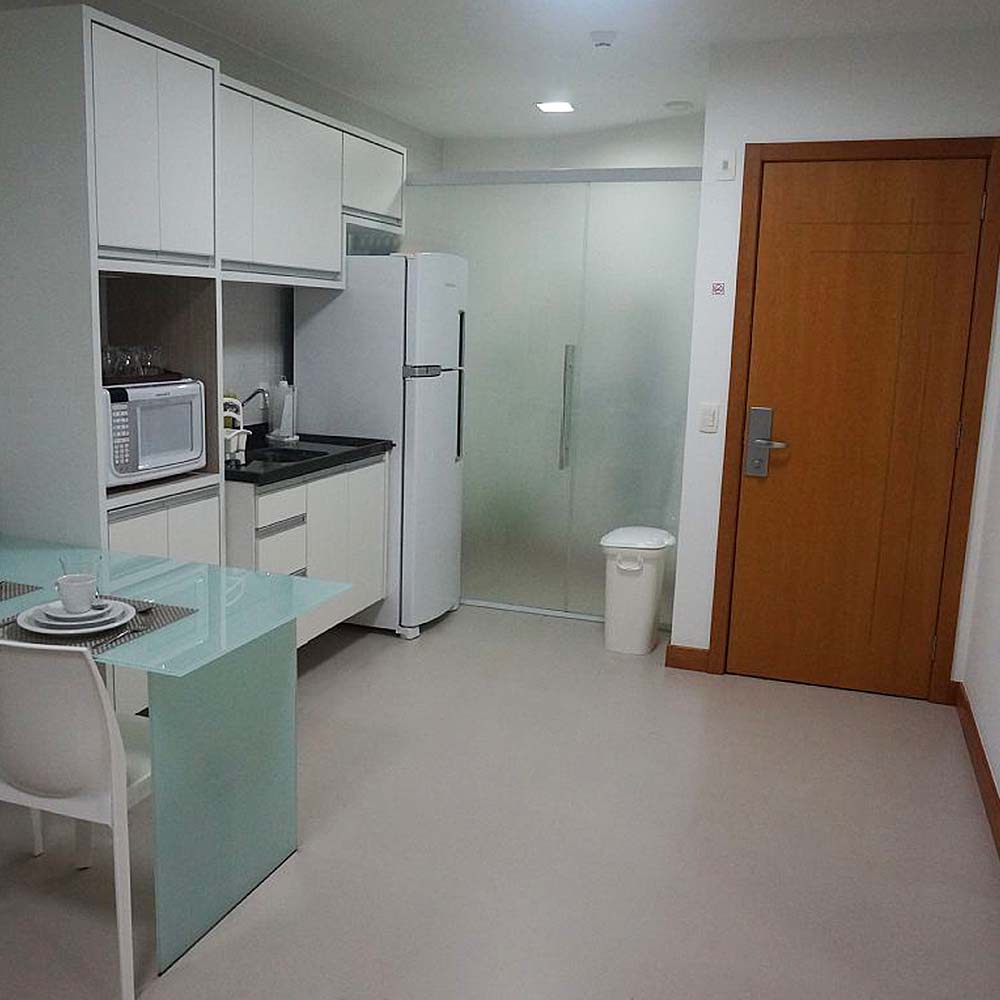
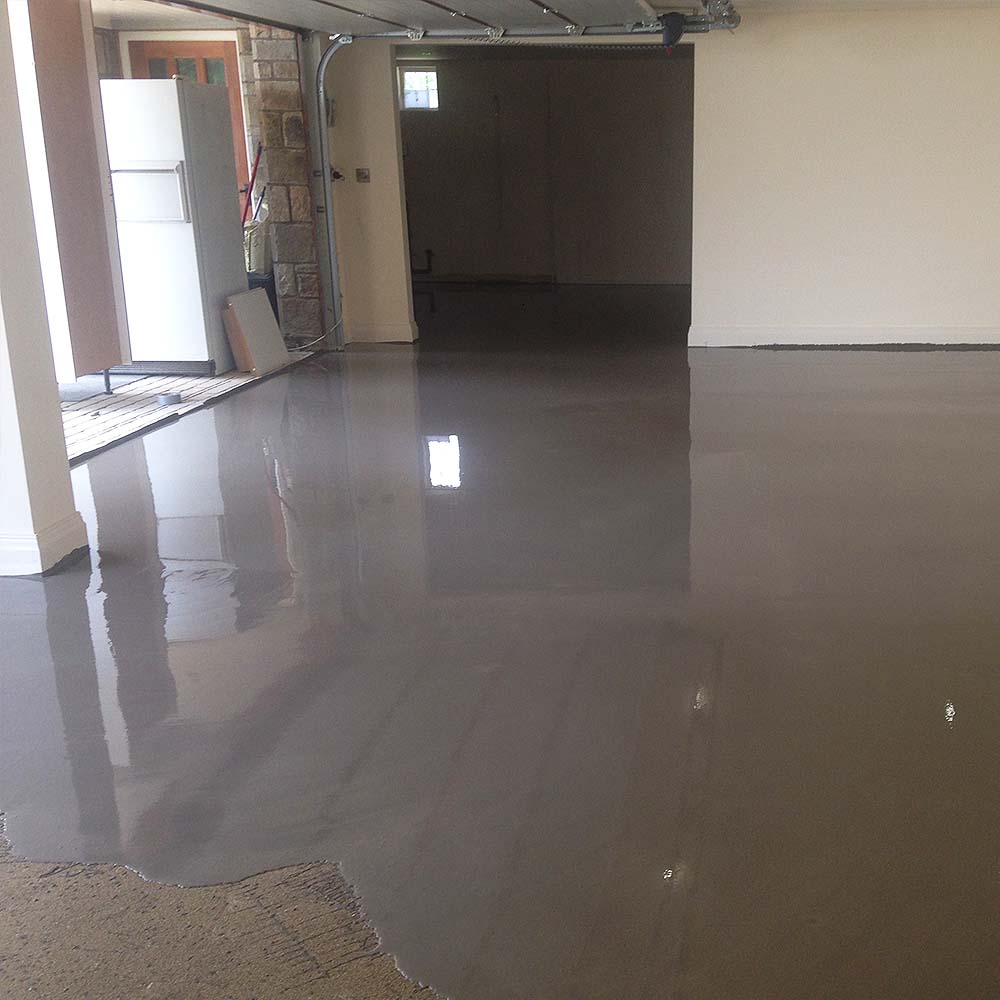
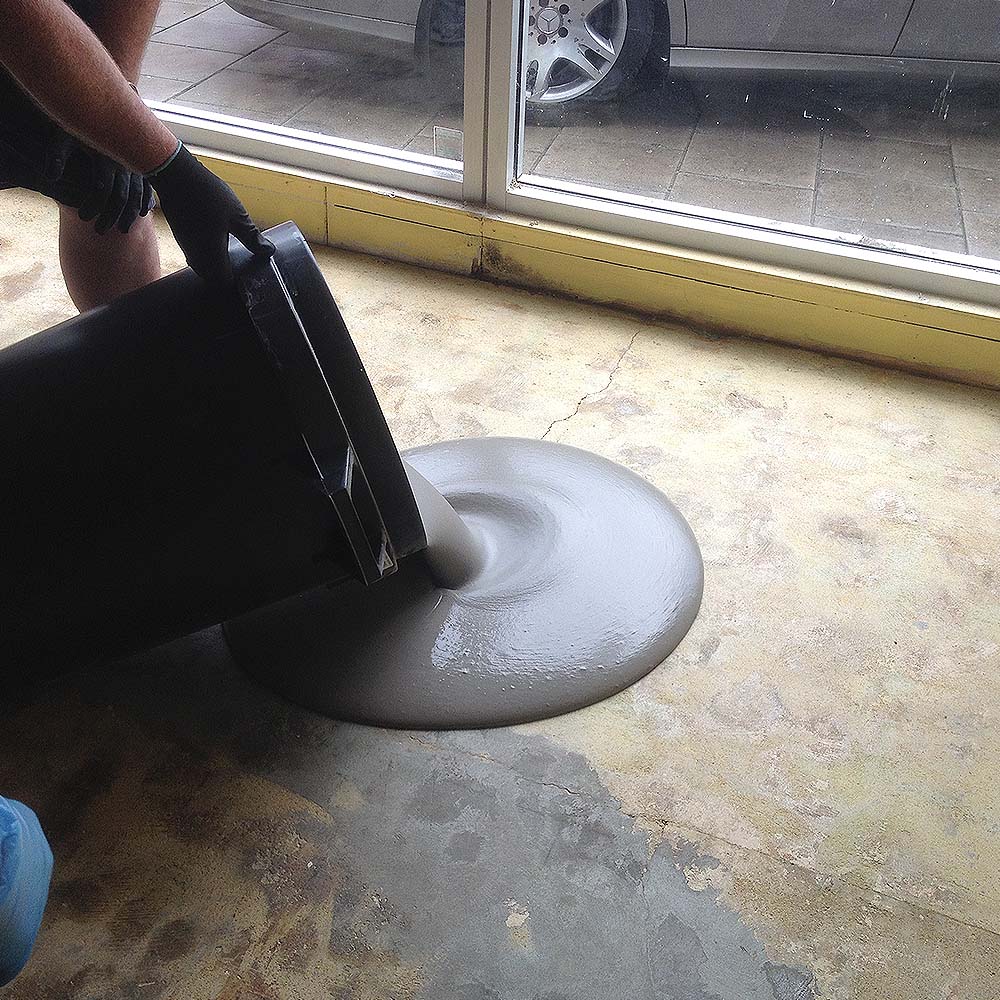
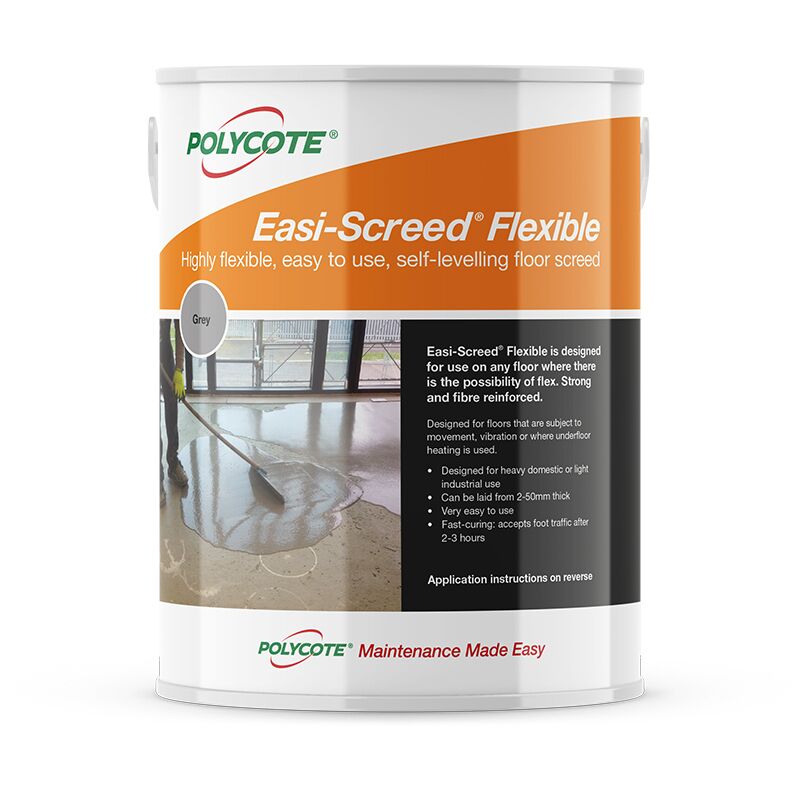


Easi-Screed Flexible is a free-flowing, fibre reinforced, cementitious self leveller. It cures fast to enable a rapid return to use.
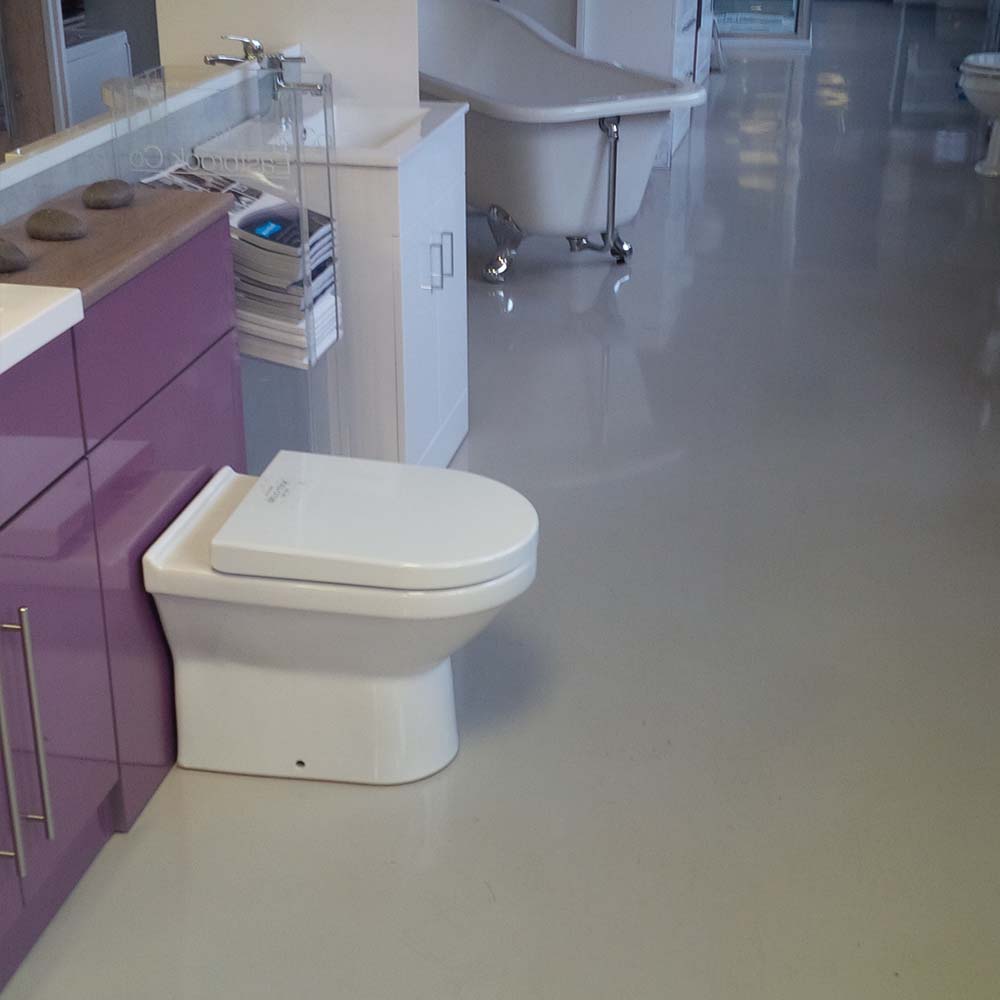
Designed for heavy domestic or light industrial use it is suitable for all common substrates and is ideal for use over underfloor heating.


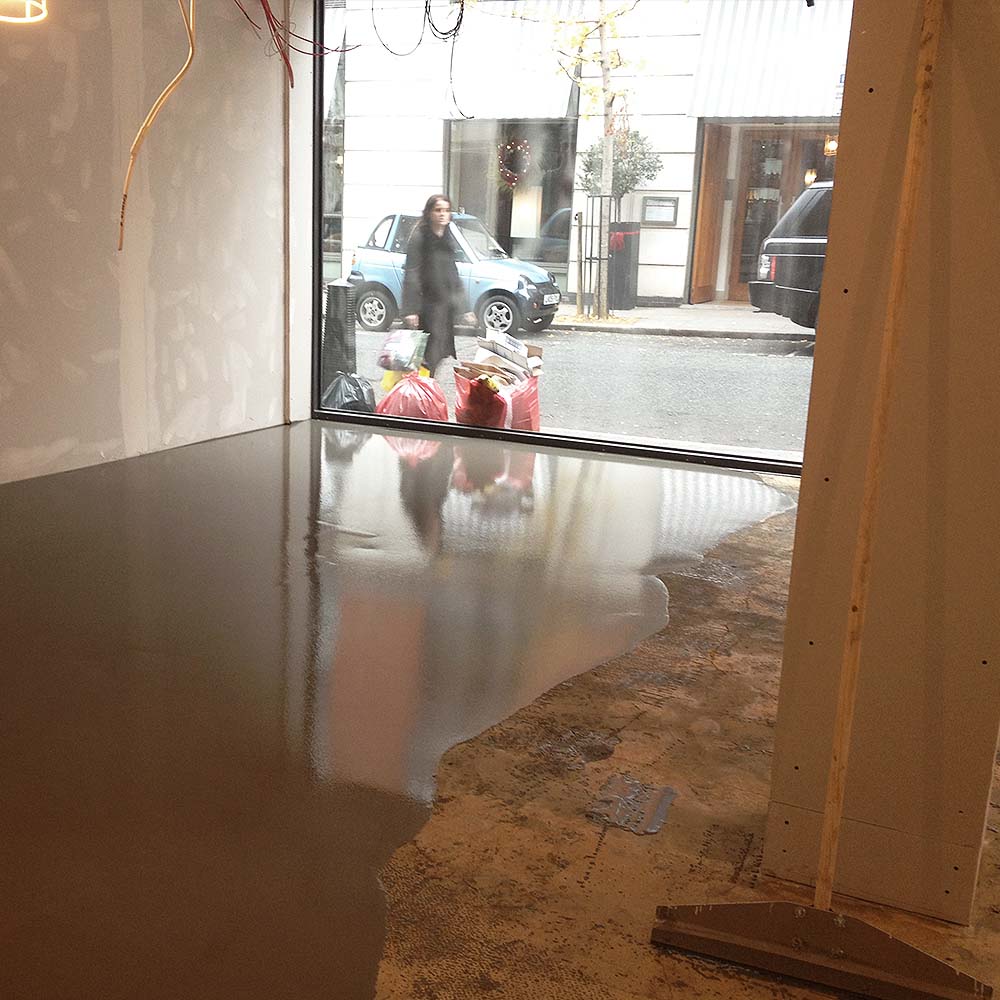
Incredible strength (over 45N/mm²) and fast curing (drive on time of only 24 hours) and the fact 2000m² can be laid in only one day. Easi-Screed…


