Flortex® PU Screed (V Grade) is a more viscose heavy-duty polyurethane floor screed formulated to provide a screed capable of being laid successfully on ramped areas and to form ‘steeper’ falls to drainage systems, due its higher viscosity than ‘standard’ PU Screed systems.
- Superb adhesion
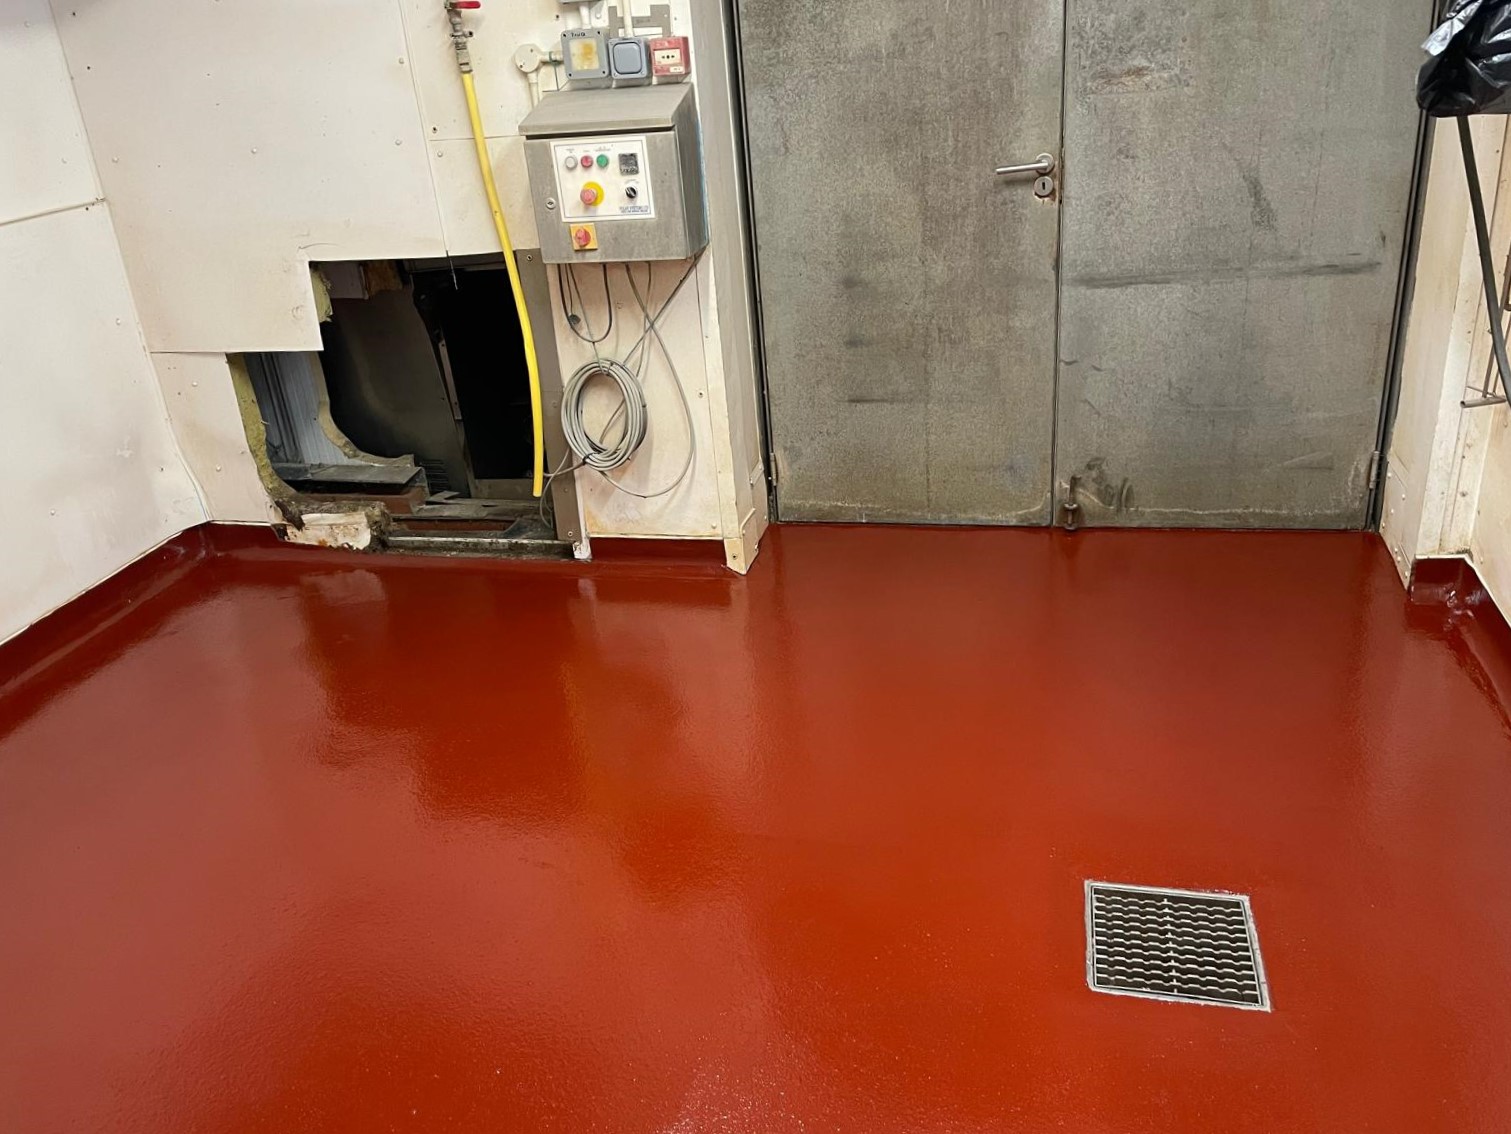
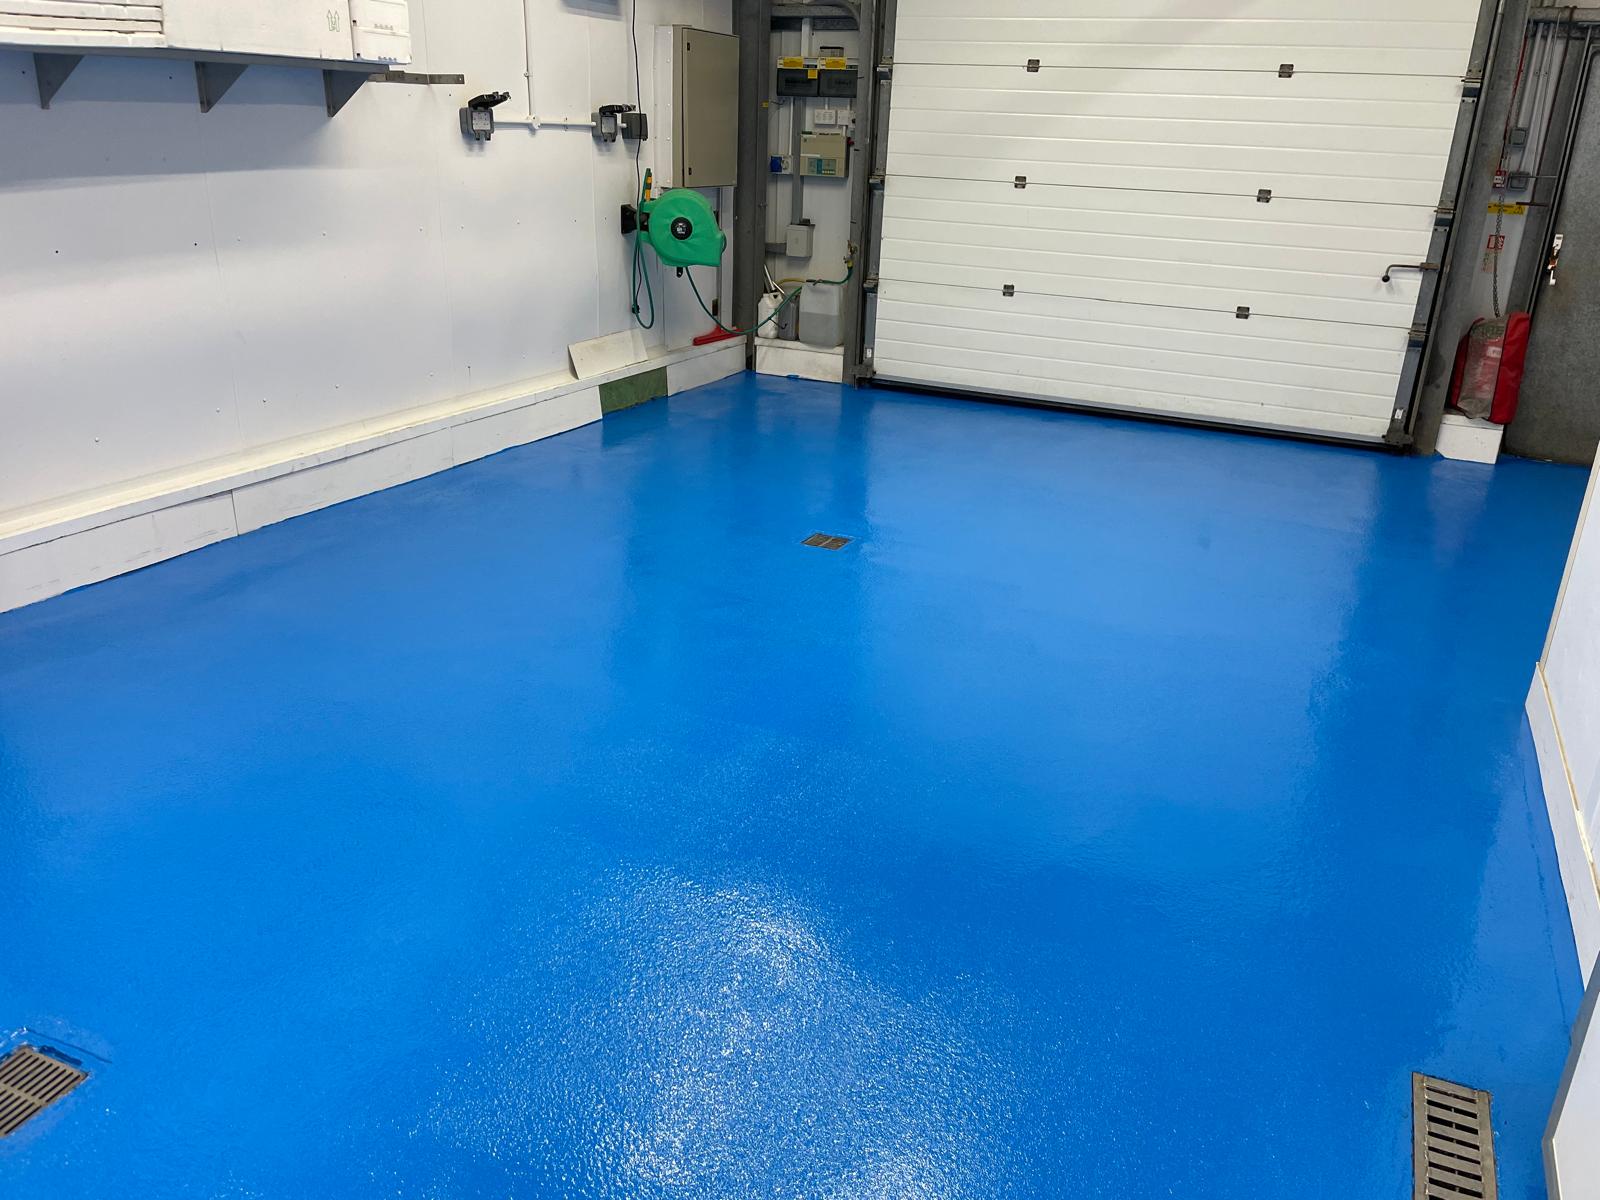
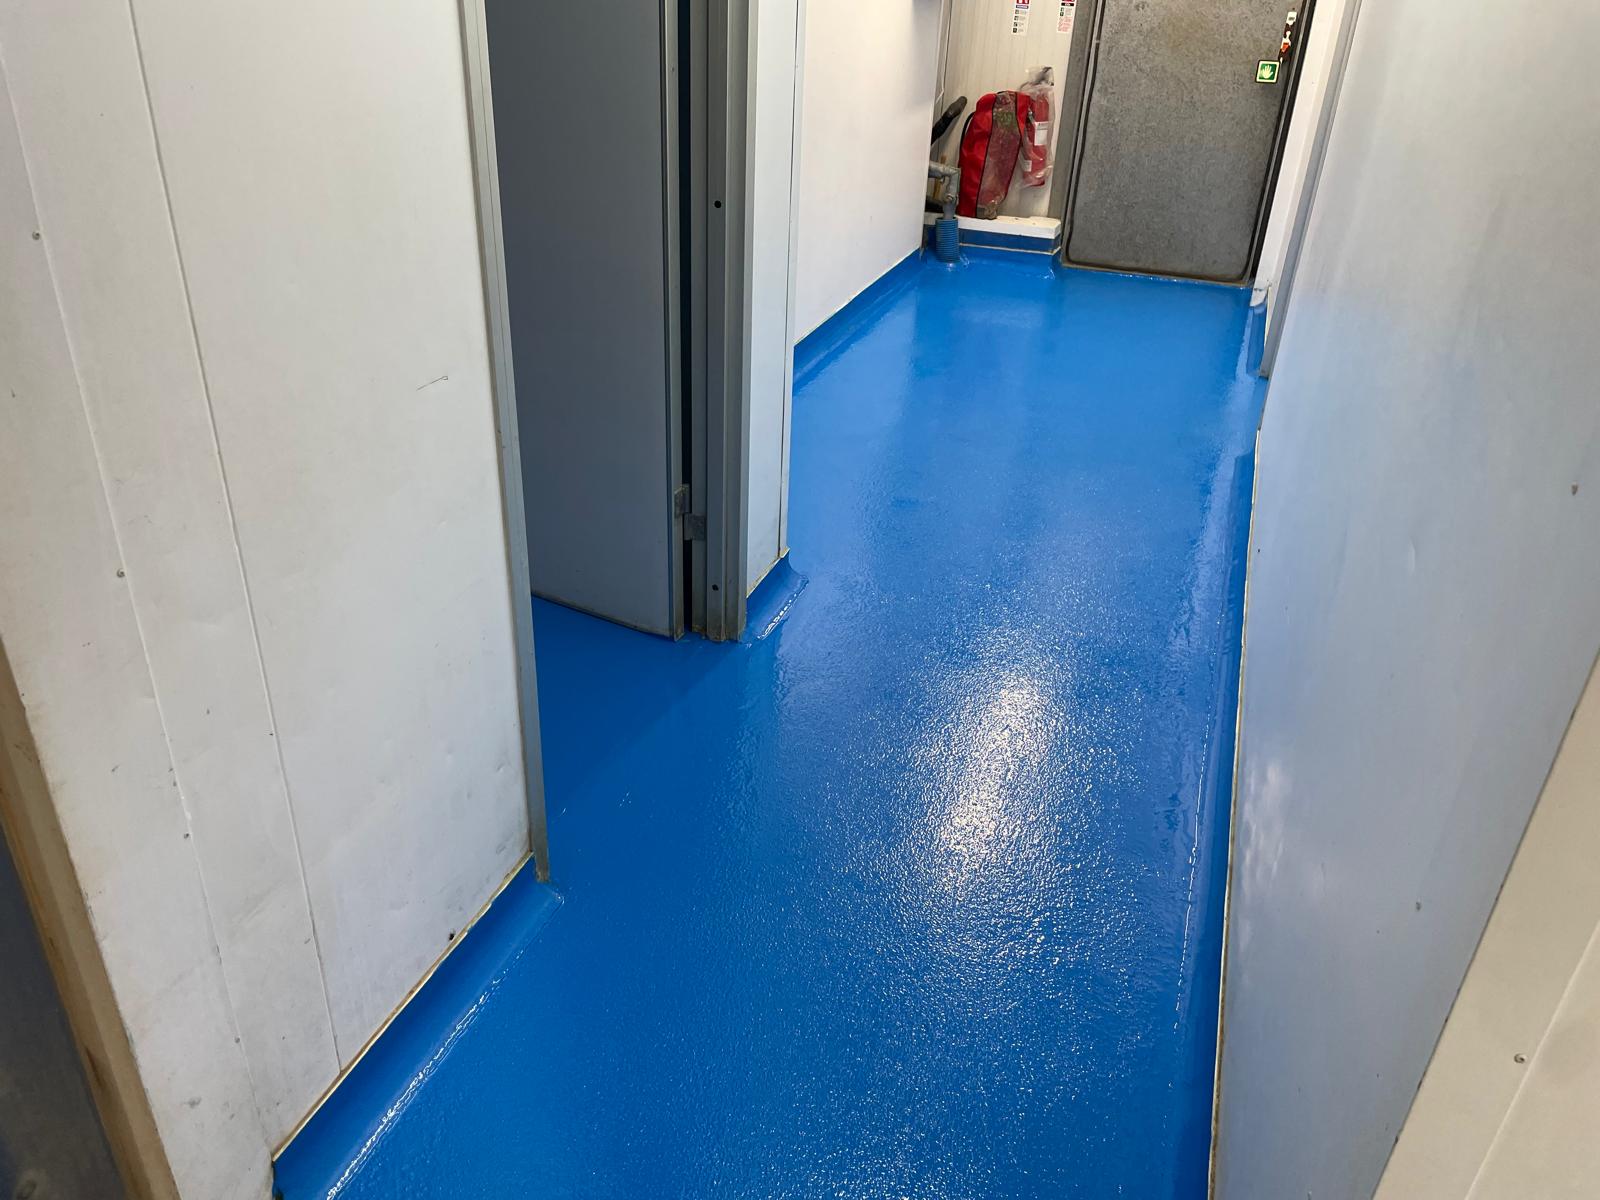
- Ultimate slip resistant screed
- Ideal for areas requiring a seamless, impervious ‘bund’, resistant to biocidal, microbiological and chemical attack.
- Complete unit size: 30.3kg
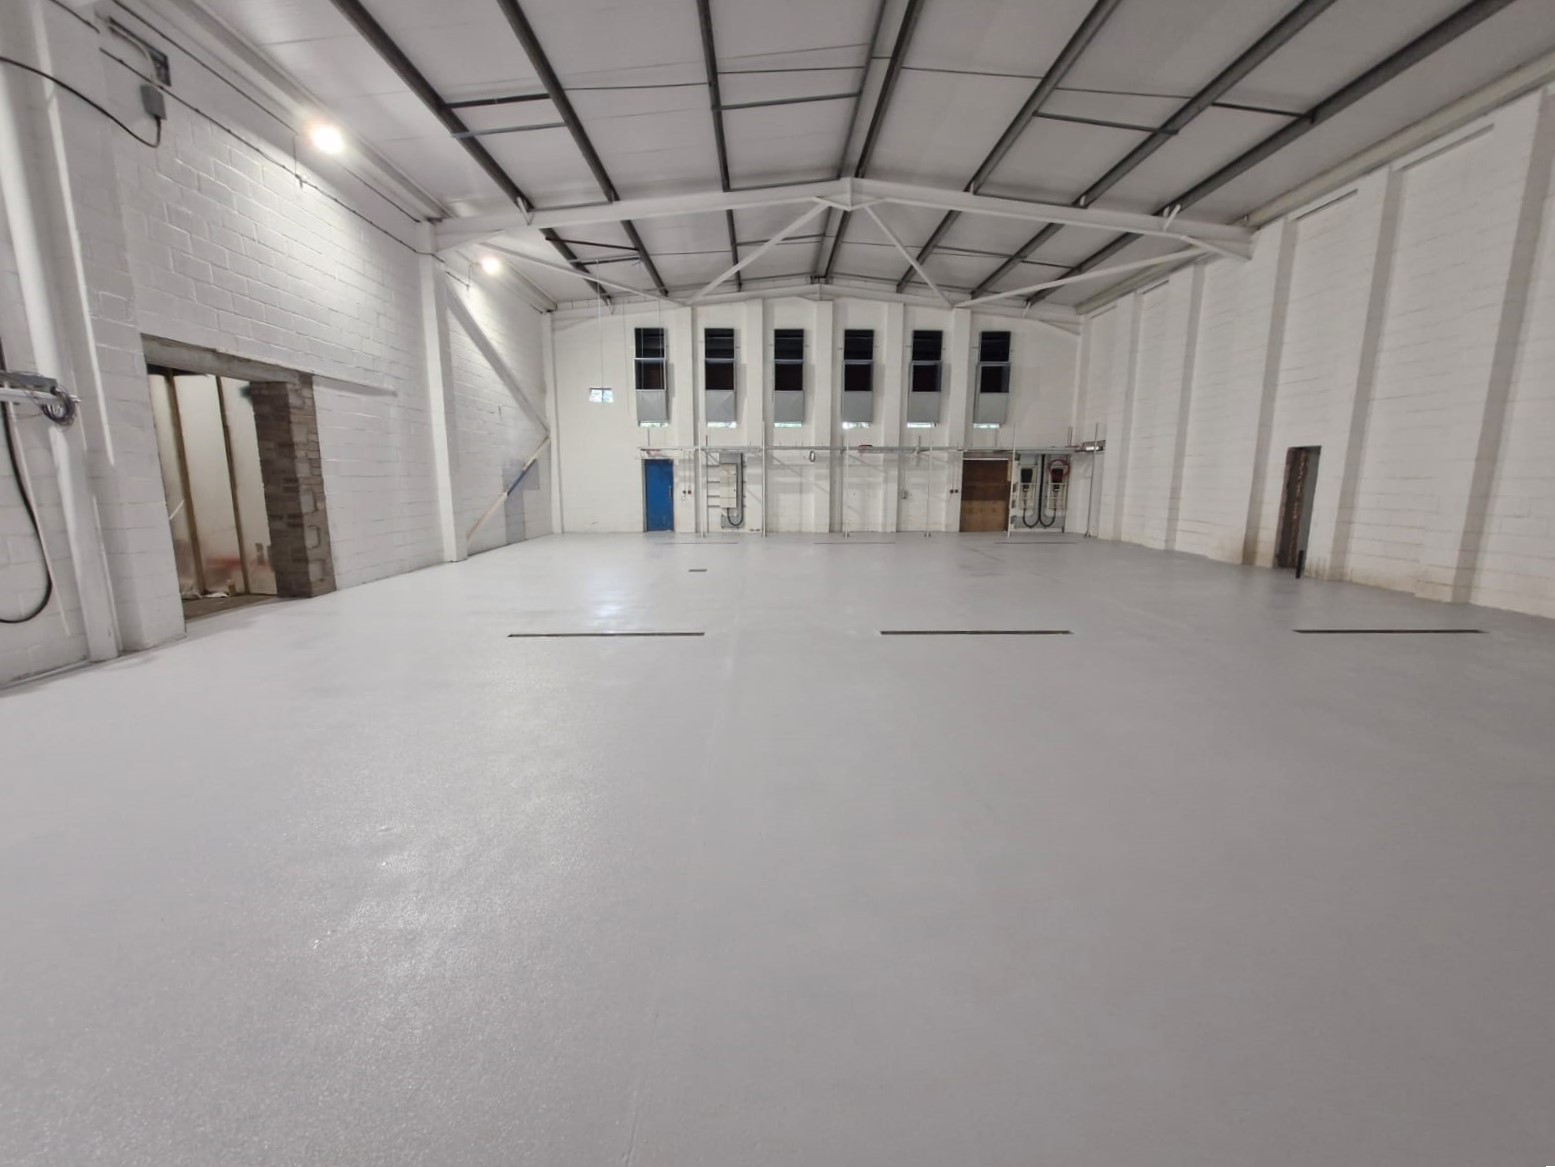
Flortex® PU Screed (V Grade) is the ultimate slip resistant screed that has been professionally developed to provide the ultimate hygienic barrier and resistance to relentless chemical attack, impact and abrasion, thermal shock and impermeability.
Flortex® PU Screed (V Grade) is a more viscose heavy-duty polyurethane floor screed formulated to provide a screed capable of being laid successfully on ramped areas and to form ‘steeper’ falls to drainage systems, due its higher viscosity than ‘standard’ PU Screed systems.
With superb abrasion and chemical resistance, Flortex® PU Screed (V Grade) is also able to withstand hot water and even steam cleaning when applied at a thickness of 9mm and ideal for areas requiring a seamless, impervious ‘bund’, resistant to biocidal, microbiological and chemical attack.
Available Colours: Flortex® PU Screed (V Grade) is available in a range of twelve standard colours. However, other BS and RAL are available. Please ask.
Packaging: Flortex® PU Screed (V Grade) is supplied in 30 kg units.
Typical uses:
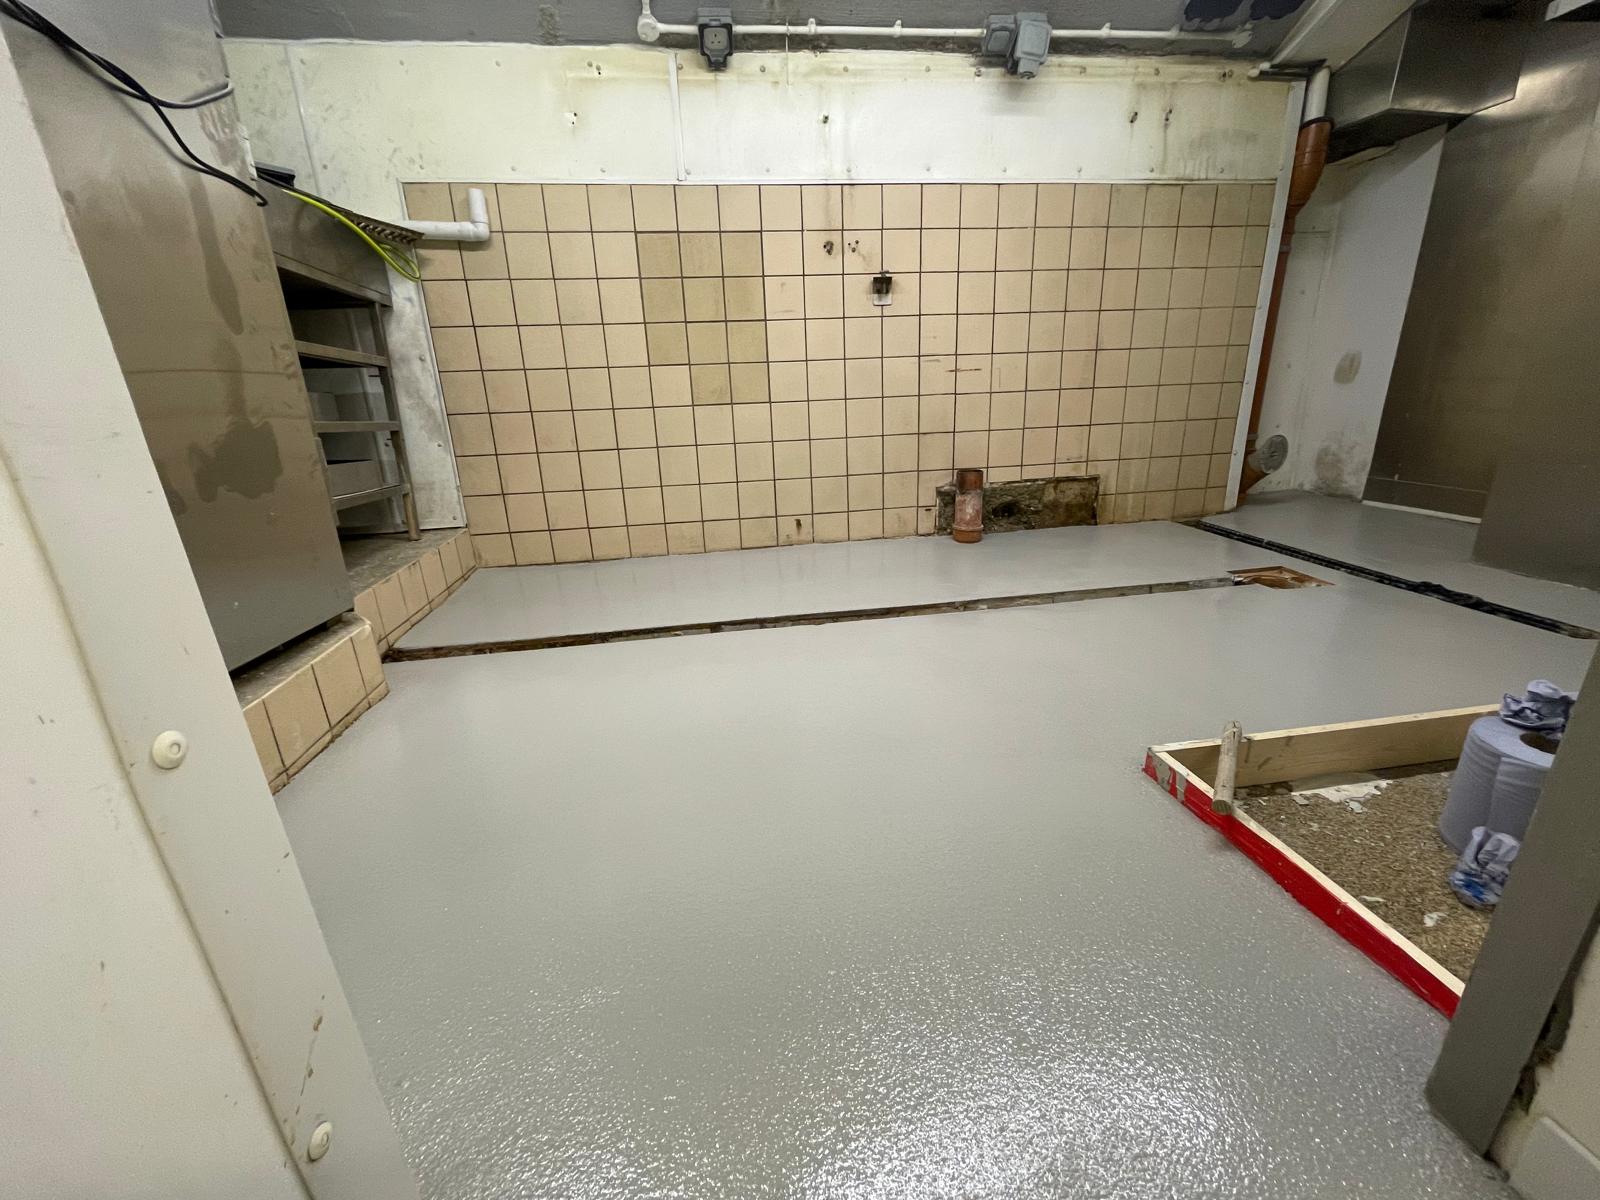
• Food production areas
• Pharmaceutical
• Engineering
• Breweries
• Shipping & Transportation
• Boiling plants
• Chemical plants
• Off-shore oil platforms
• Aerospace
Pot life: 15 mins @ 15°C.
Depth of screed (1 layer): 6mm – 9mm
Initial cure time: 4-6 hours
Curing times: 12-16 hours (light pedestrian traffic)
24 hours (light wheeled traffic)
48 hours (heavy duty traffic)
7 days (fully cured)
Coverage: 30kg unit of Flortex PU Screed V Grade is approximately 2m² at 6mm nominal thickness, or 1.4sqm² at 9mm nominal thickness.
The above coverage’s slightly over allows the amount of materiel needed. If the substrate is very rough the coverage may reduce slightly.
2.3kgm² per mm
Number of parts supplied: 3
Please consult the technical data sheet for full technical product data.
Conditioning of Concrete
The concrete substrate must be a minimum of 28 days old, with a residual maximum moisture content of 75% RH. The substrate should be solid and sound with a minimum compressive strength of 25 N/mm2 and a minimum pull-off strength of 1.5 N/mm2.
Functioning Damp Proof Membrane
Ensure a damp proof membrane has been installed and is functioning properly. If in doubt, test an area first to ensure there is no rising damp. If damp is detected, please contact the Polycote Technical Helpline for further information.
Preparation
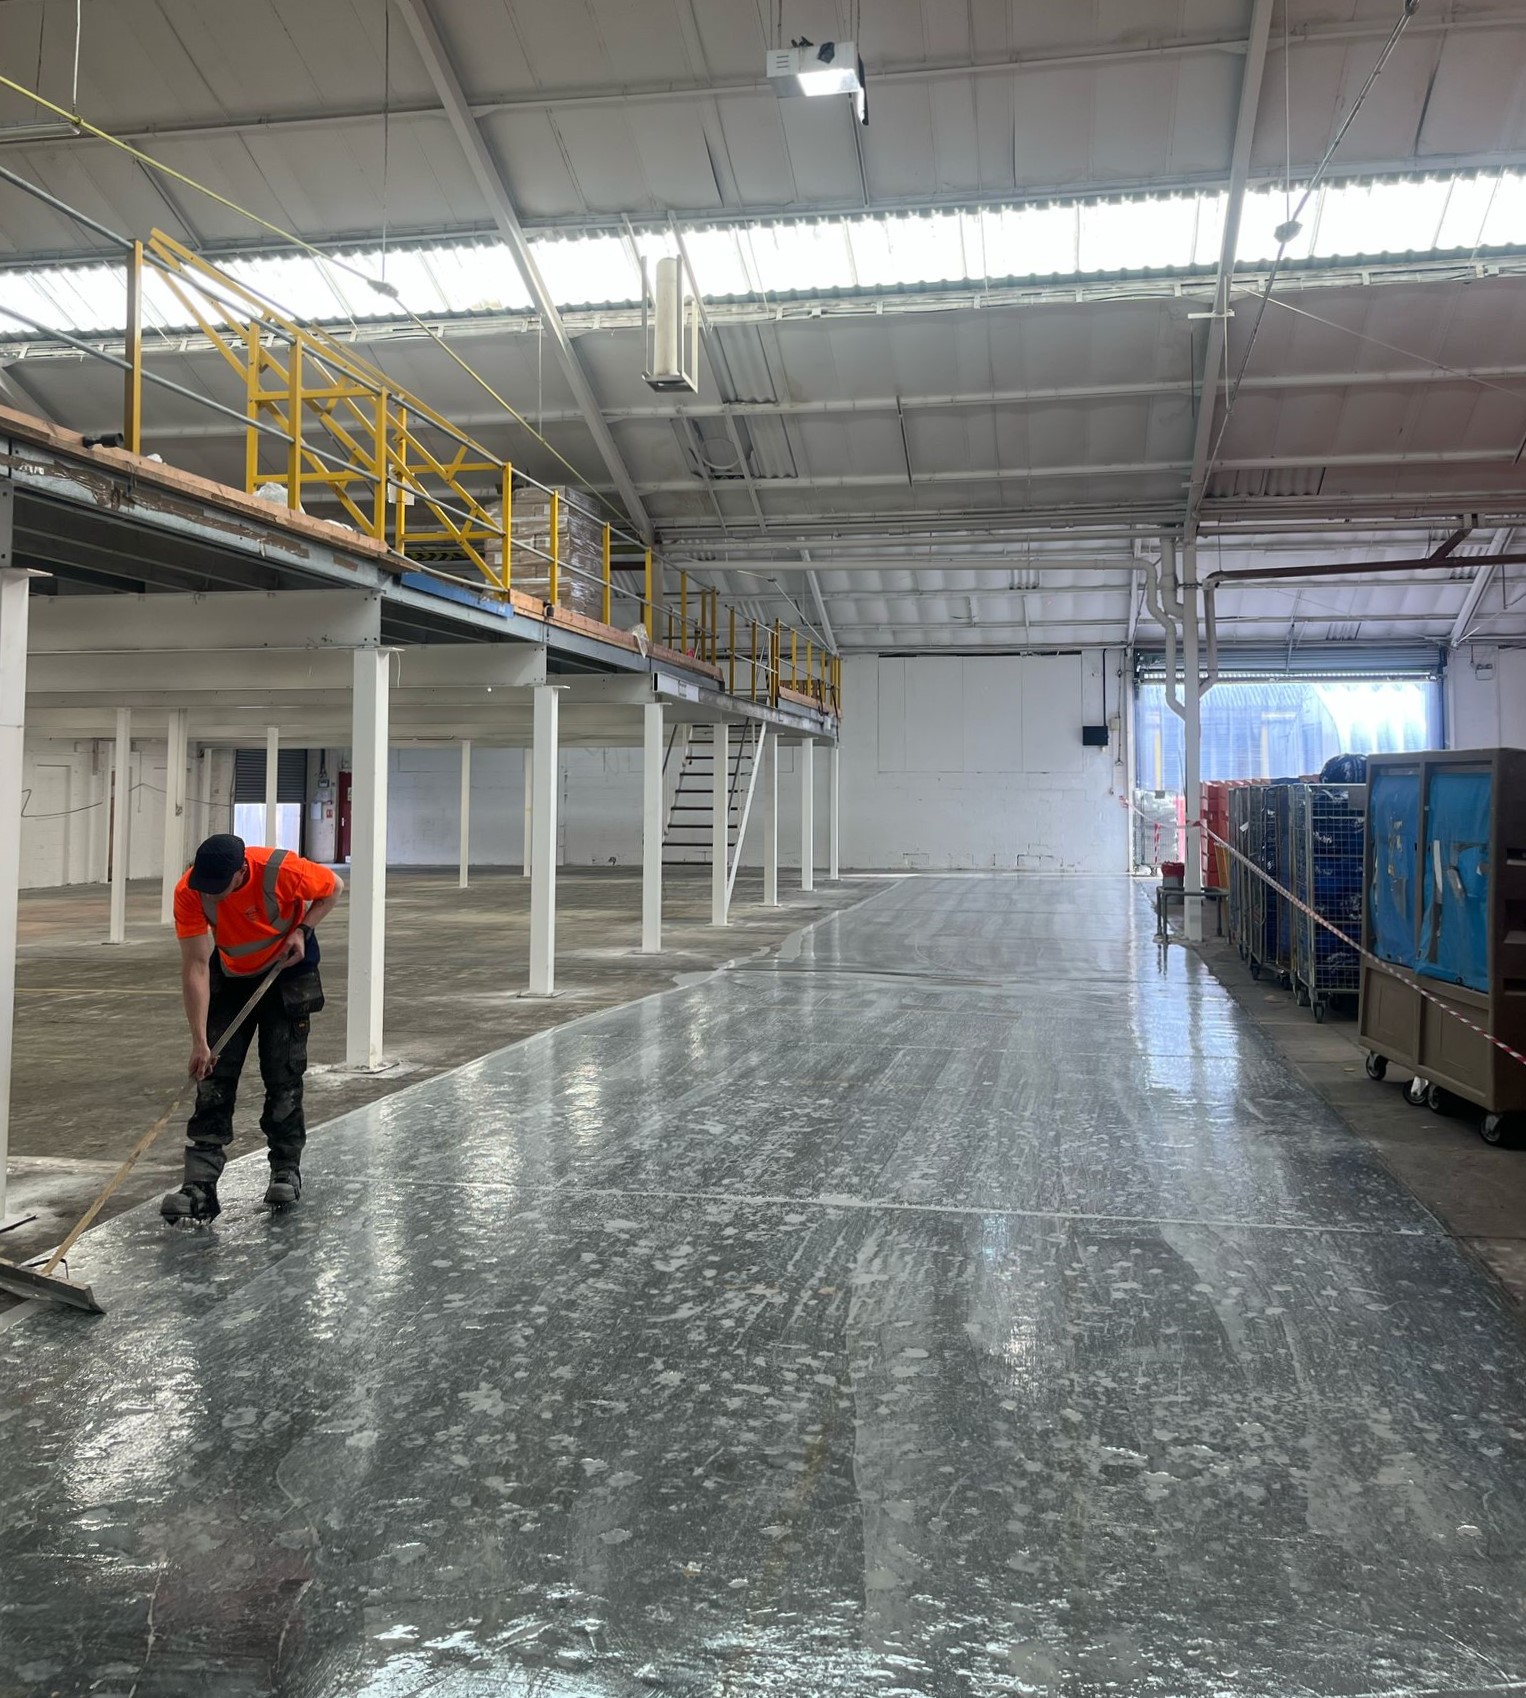
For the maximum adhesion and performance of the screed, thorough preparation of the substrate is essential and all surfaces must be clean, sound, dry and free of surface laitance. A list of recommended preparation methods, are as follows:
• Powerfloated concrete: Use a Vacuum Assisted Shotblaster to remove weak laitance and provide a surface key for the coating. If this is not possible, chemically etch with Polycote Etch IT, then rinse thoroughly and allow to dry.
• Loose paint or rust: Remove, using a Vacuum Assisted Shotblaster, Floor Grinder or equivalent method.
• Loose or friable concrete: Use a Vacuum Assisted Shotblaster. If this is not possible, chemically clean with Polycote Etch IT then rinse thoroughly and allow to dry
• Metal Surfaces: Use a shot-blaster to prepare the surface to SA2.5 (bright steel) and primed with ZP Primer. Deck plates of 4mm or less do not provide a sufficient substrate for Flortex PU Screed, please contact Polycote Technical Helpline for further information.
• Weak Concrete/Holes: Weak concrete must be removed and holes should be filled, prior to the installation of the screed. Please contact Polycote Technical Helpline for further information.
Toe-Hold Grooves
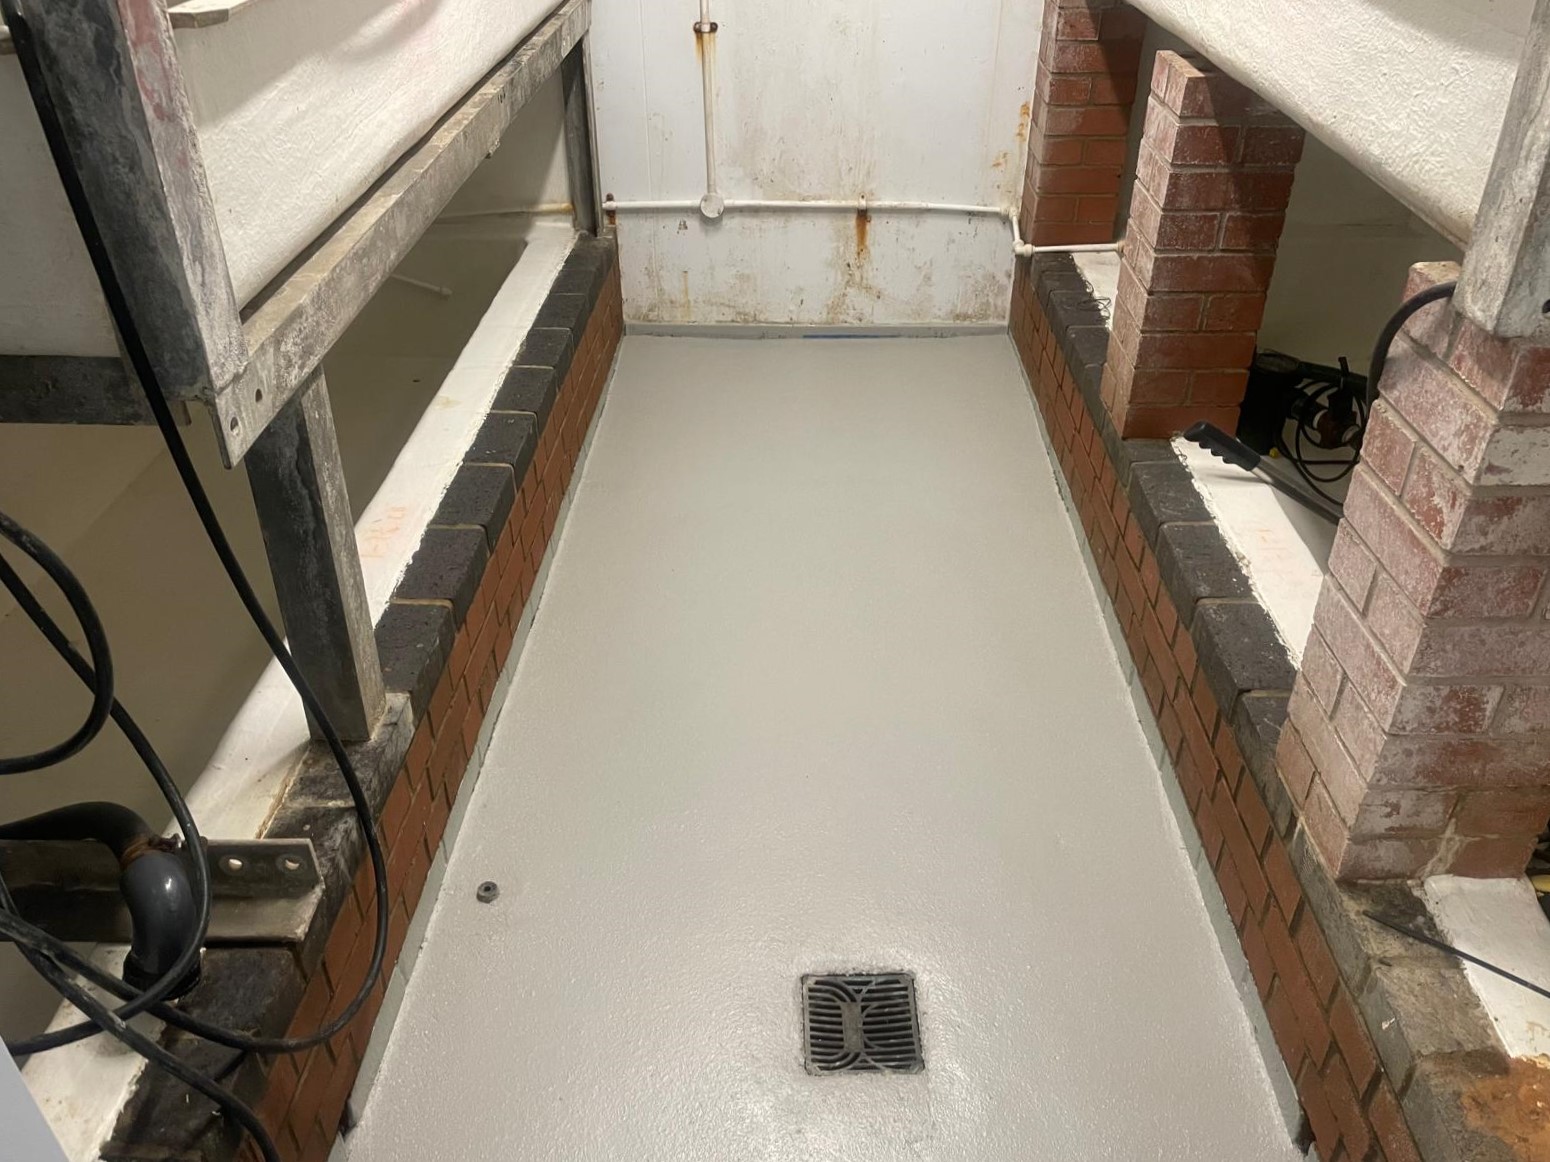
Polyurethane screeds ‘tighten’ within their curing process and therefore it is essential to install a ‘toe-hold’ alongside all terminating edges, such as perimeter walls, day joints, expansion joints, drains, manhole covers & inspection lids, door thresholds, etc. This ensures the screed reains fully bonded to the subfloor and does not pull away from the edges. The toe-hold’ should be a minimum size of 20mm wide x 8mm deep, cut approximately 150mm from the terminating edge and run the entire length of the edge.
Priming
First and foremost, it is essential to establish the correct primer for your floor. This is dependent upon the hardness/porosity of the substrate, the application temperature, the speed of cure required (mostly governed by the amount of downtime allowable) and whether or not there is any damp or oil/contamination present. If in doubt, please consult with one of our technical team before purchasing any material. Ensure all surfaces are primed as per the application instructions on the specific product data sheet. Make sure the toe-hold grooves are fully primed. It is very important that the primer does not fill the groove and that a minimum depth of 8mm is maintained. Whilst the primer is still wet, broadcast the aggregate (as provided) to provide a suitable ‘key’, thereby ensuring an excellent adherence of the screed to the substrate. Once cured (this is mostly the following day, ensure that any and all unbonded aggregate is removed prior to the application of the screed.
Mixing
Stir the individual components before mixing together. Add Part ‘B’ to Part ‘A’ and thoroughly mix in a rotary drum mixer for at least 1 minute before adding the aggregate. For smaller quantities, a heavy duty slow speed drill with a mixing paddle may be used. Steadily add the aggregate whilst continuing to mix. Once all the aggregate has been added continue mixing thoroughly for 3 minutes.
Number of parts supplied: 3 .
Never mix by hand. Furthermore, it is strongly advised not to spilt individual unit quantities. It is essential that the correct (individual part) quantities are used together with thorough mixing. The use of incorrect quantities and/or a lack of thorough mixing WILL result in a poor or non-cure situation.
Application
Firstly, it is important that a constant supply of mixed material is provided to the installer in order to maintain a ‘wet-edge’ and consistency of application. To help this, it is advisable to set up the mixing station as near to the application area as sensibly possible. Pour the mixed material immediately onto the prepared and primed substrate and spread evenly with a trowel to the specified thickness. Ensure the toe-hold grooves are fully filled with the screed. Each ‘new’ mix must be blended in with the previously laid mix and to facilitate this, it is imperative a wet-edge is maintained. We strongly recommend that this product is installed only by fully trained and skilled tradesmen. We offer a list of approved nationwide contractors that are competitive, reliable and professional, should you require this service. We strongly recommend that this product is installed only by fully trained and skilled tradesmen. We offer a list of approved nationwide contractors that are competitive, reliable and professional, should you require this service.
Application Temperature
The ambient temperature of the substrate as well as the working area should be a minimum of 15°C during the application and curing period. The surface of the substrate should be a minimum of 10°C. If the temperature of the room or substrate be allowed to drop during the application and/or curing process, this will adversely affect both the curing and final strengths/performance of the screed. Should the screed be exposed to damp during the curing process, this may also adversely affect both the colour and appearance of the system. Therefore, the substrate and uncured floor must be kept at least 3°C above the dew point to reduce the risk of condensation or blooming on the surface. The unmixed materials should be a minimum of 10°C prior to mixing/installation.