Preparation:
Thorough substrate preparation is essential.
The surface should be clean, sound and free from all loose particles such as old adhesive residues, dust, plaster spillages, grease, paint, polish and any other compound, which may become softened by the introduction of water or be detrimental to the required bond. All laitance should be removed by mechanical means such as shot-blasting or scrabbling, to ensure a sound sub-base suitable to receive the screed.Concrete bases and screeds must be fully cured and firm. Surface hardeners and curing membranes must be removed prior to screeding.Sub-floors must conform to the dryness requirements of BS8203 1987 and must incorporate an effective damp proof membrane. Relative humidity should be less than 75%. The screed may be applied onto a suitable surface damp proof membrane where a good mechanical key has been provided. This may be achieved by applying dry silica sand to the second coat of DPM whist it is still wet. Single part screed is not impermeable to water and should not be used when damp conditions prevail.Underfloor heating must be switched off at least 48 hours before and after application. Temperature should then be increased by 5°C, at 24 hour intervals.
Priming:
Concrete or sand and cement screeds – prime with Polycote Easi-Screed Primer.Non-absorbent surfaces – prime with Polycote WD Primer. Oily/contaminated surfaces – prime with Polycote OT PrimerDamaged DPM / Rising damp issues – prime with Polycote DPM Primer.
Please refer to relevant Data Sheets for preparation and priming methods.
Mixing:
Measure 4-4.5L of clean water into a suitable sized bucket.Gradually add the entire 20kg quantity of powder whilst mixing with a heavy duty slow speed drill and mixing paddle. Mixing by hand does not readily give a thoroughly or evenly mixed product. Mix for at least one minute to allow the additives to dissolve and produce a homogenous mix which should be lump free and a consistency of single cream. When mixed allow to stand for 2 minutes and stir again before application..Do not mix more than can be applied in 25 minutes. Do not add excess water.
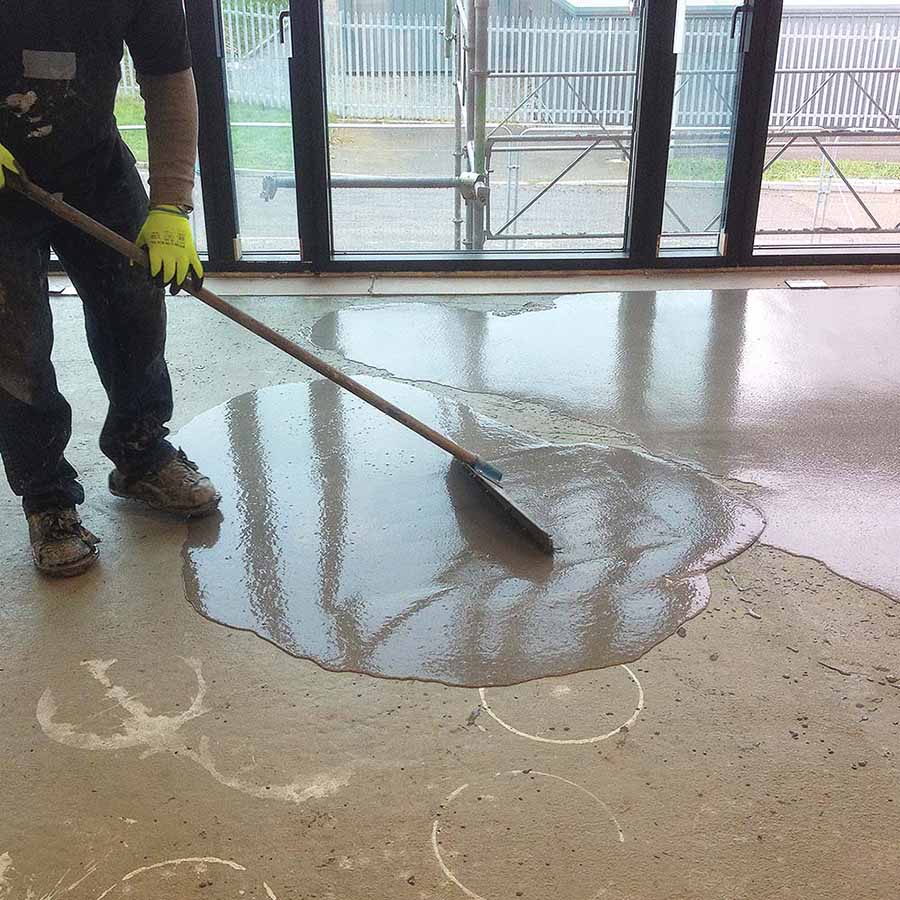
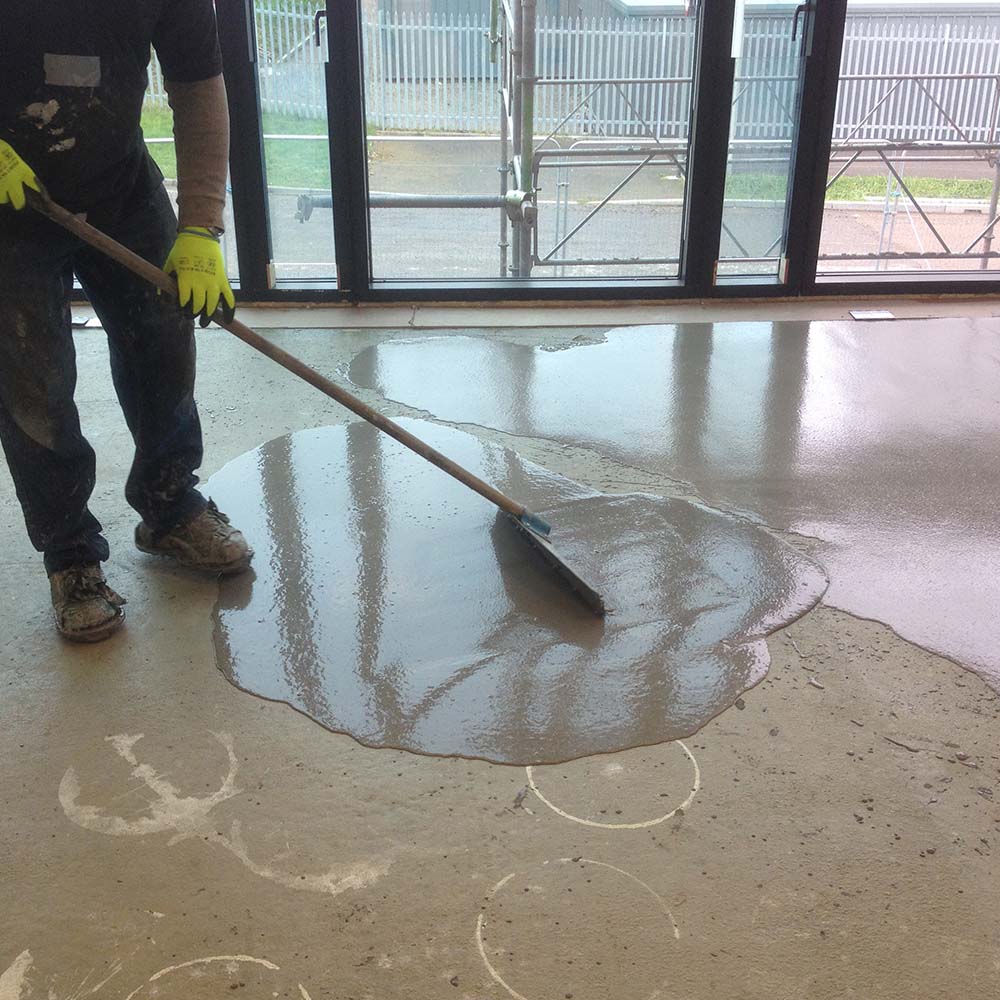
Application:
Starting at the furthest corner from the exit pour the material evenly onto the floor to the required thickness and allow the material to start levelling. The use of depth adjustable floats or a pinned/notched leveller is recommended to assist in spreading the screed to a constant thickness.A spiked roller should be used immediately over the freshly poured material to eliminate any bubbles trapped within the screed. The next mix of material must be rapidly produced and poured along the wet edge of the material as well as across the exposed floor.Each application should be laid within 20 minutes of the area adjoining in order to blend evenly into the edge of the previously laid material. This can be helped by gently trowelling along the joint.Once the workable time has been exceeded it is not possible for the new material to be blended into previously applied material. Therefore the floor topping should be applied to the entire area in one continuous operation.
Application by pump:
Prior to laying the mixed compound carry out a flow test using a flow ring (30mm diameter x 50mm long). A flow diameter of 135mm + or – 10mm should be achieved, adjust mix accordingly to comply to this flow criteria.
Periodically check to ensure mix remains in limit.
Warning:
1) If the product is not spike rolled immediately and the screed begin to cure, roller spike marks will remain visible.
2) Failure to disperse the air bubbles by spike rolling may result in a lesser impervious finish.
3) Do not add excess water
A 20kg unit will cover approximately 2.22m² at 5mm thick.